Interested in knowing what pillow inserts are? Need a pillow insert but scared of their hefty prices in the market? Looking for easy DIY steps for making pillow inserts yourself?
Well, if such is the case, we are impressed with your choice pick. Pillow inserts are an amazing addition to your indoors, with beautiful pillow covers enveloping them. They add the squishiest feeling to your room. But when the price drops, many of us are scared away. Pillow inserts can cost up to $50 and are utterly useless.
Interestingly, their prices depend upon their fills and what kind of fabric is in use, and if you have a good eye for them, you can have a pillow insert worth $100 for free.
Keep scrolling below as we decode the master ways of making a pillow insert all by hand with easy DIY methods.
Similar Post: How to Make DIY Pinch Pleat Curtains
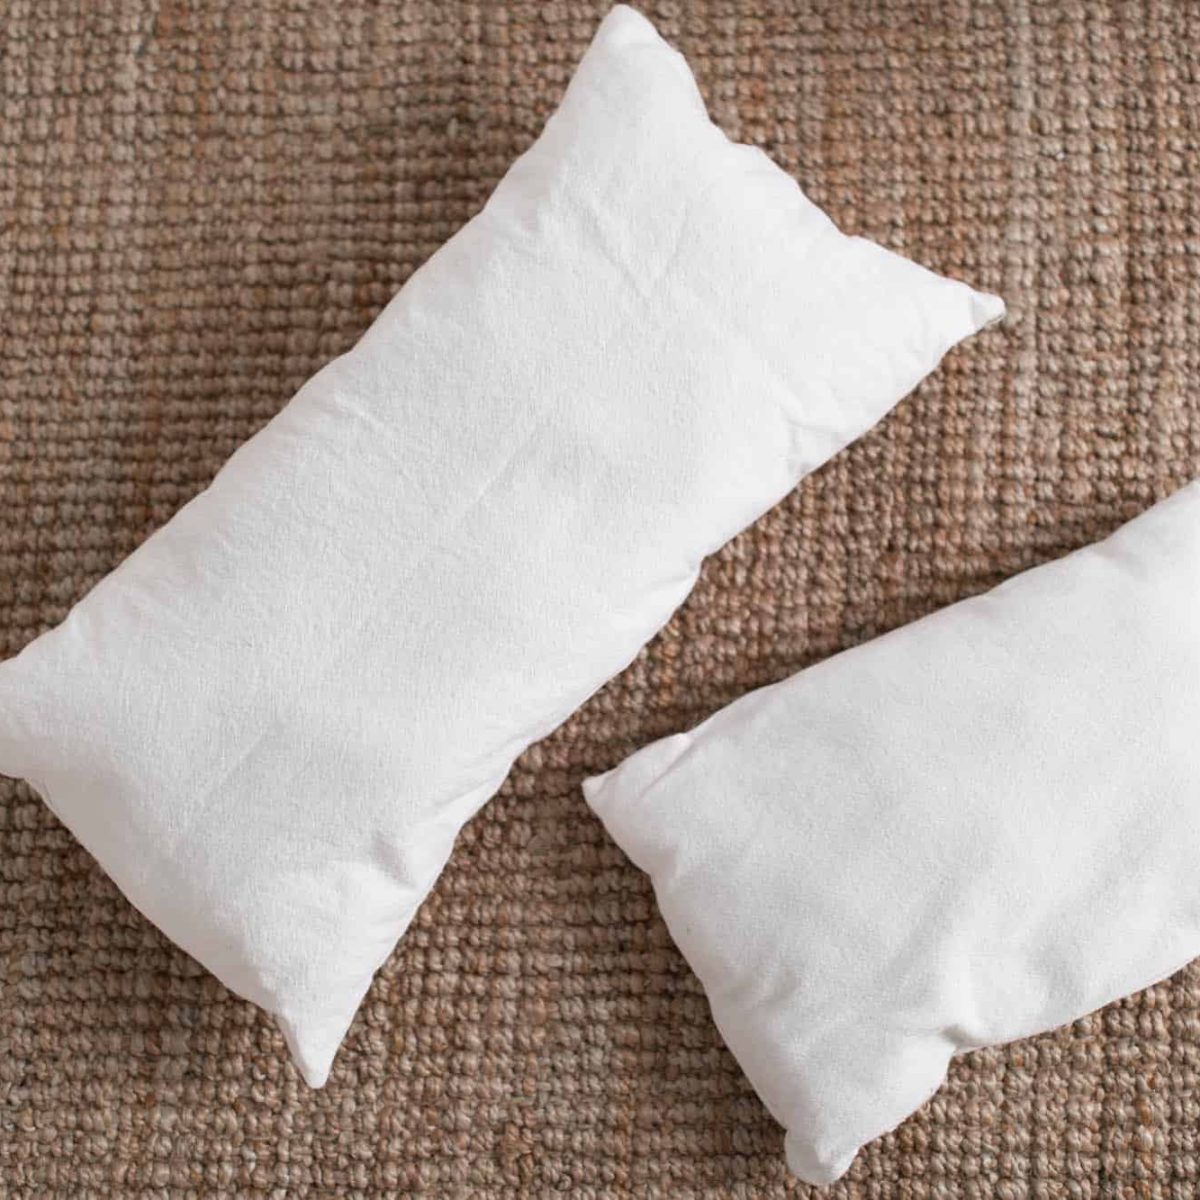
What are Pillow Inserts?
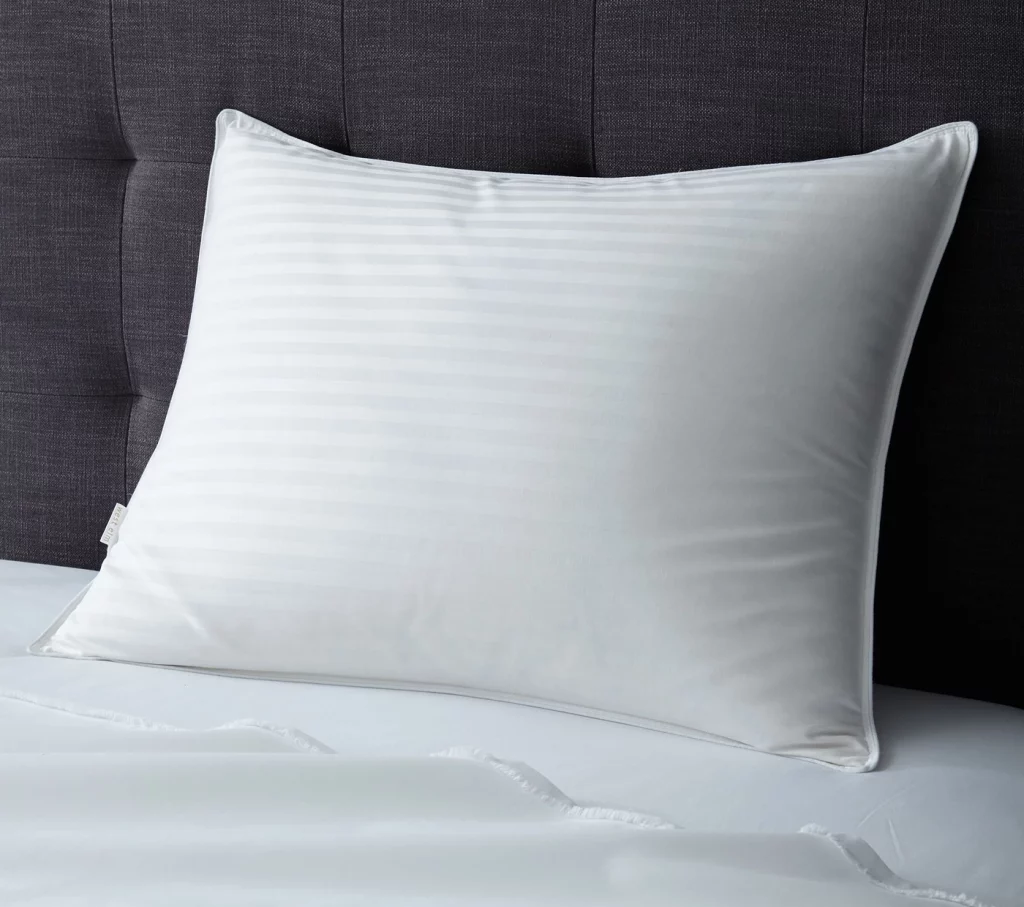
Before we thread the needle, let’s understand what pillow inserts are and their utility. Pillow inserts, in easy words, are the fillings inside the beautiful pillow cover. They are often made of feathers, cotton, polyfills, down alternative filling, and other fluffing materials, sewn within a washable soft fabric (mostly cotton) and then filled inside the pillow covers.
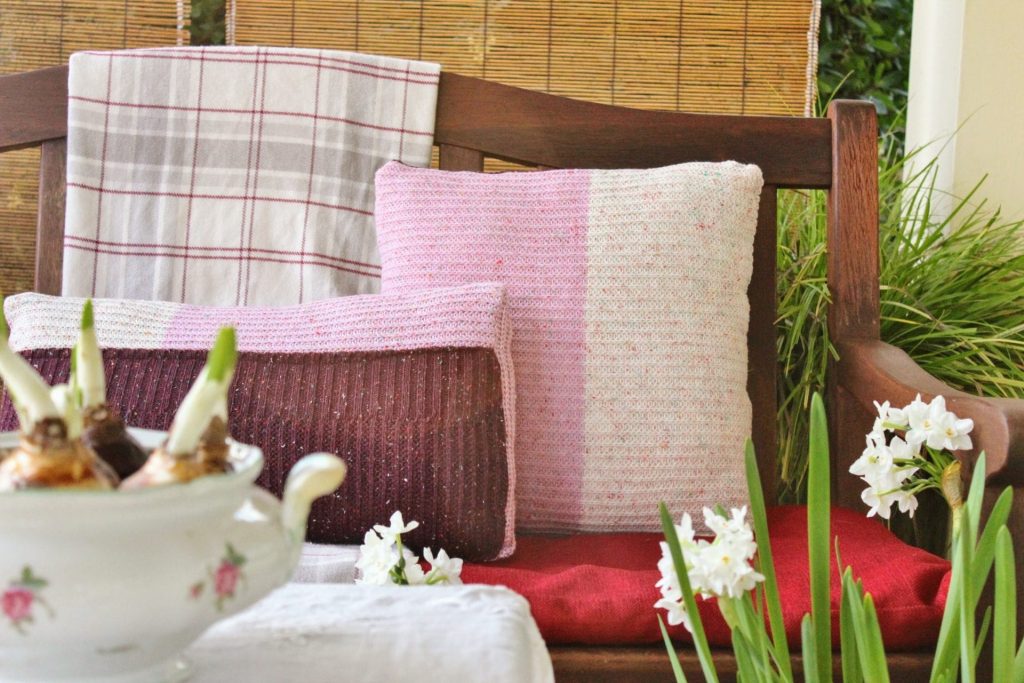
Pillow inserts are often plain, light-colored (mostly white, so that they don’t reflect or see through from inside the pillow cover), and look like a normal plain pillow.
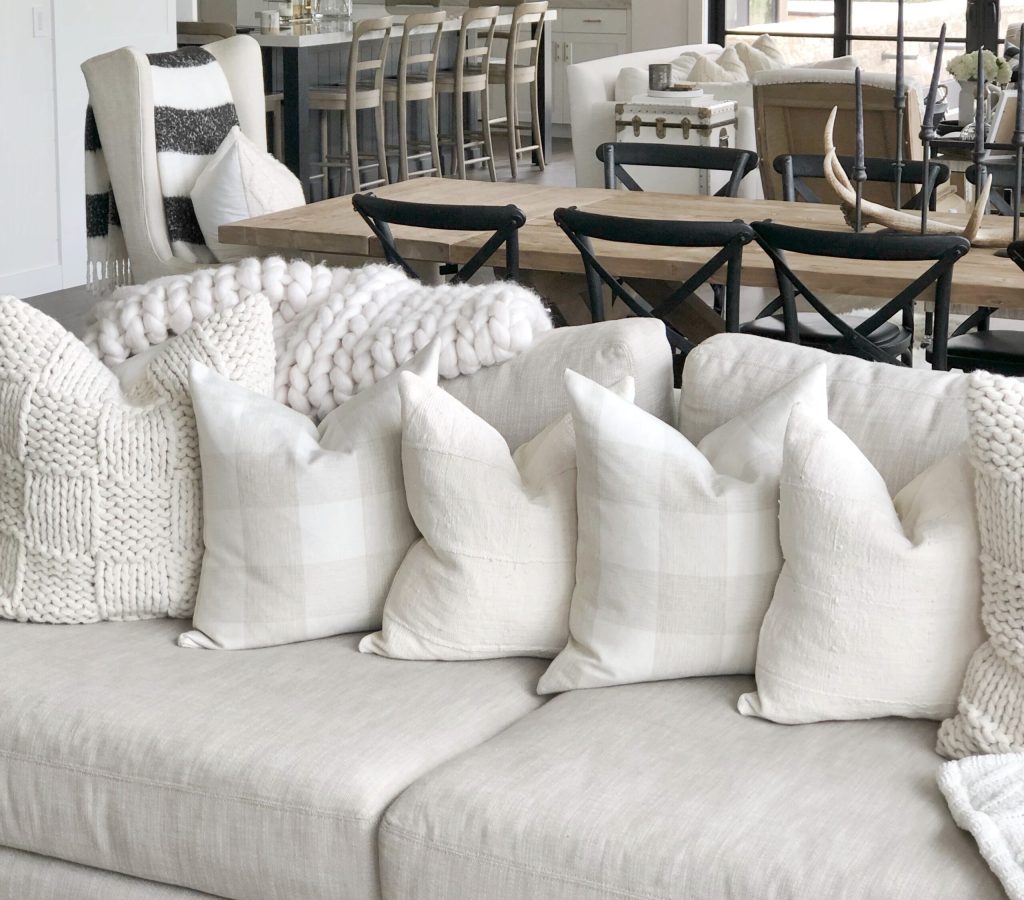
They have the audacity to change the entire outlook of your pillows and cushions and, therefore, at a greater level, the entire outlook of the room.
Why is It Necessary to Make a Pillow Insert Yourself
Pillow inserts can be bought from the markets, and online giants like Amazon have their shelves overstocked with this goodness. Window shoppers can head to Crate and Barrel, too, for some amazing pillow fills, but there is a twist in the tale. By now, we have solved the query of what pillow inserts are, and now is the time to know what makes a pillow insert good for you.
To understand this, you must get into the basics first. People have different sleeping patterns and orthopedic conditions, and hence, they require comfort different from what other people desire.
What is good for you might not be good for your spouse or your parents. If you are making a pillow insert for a throw cushion, you are good to go, for they don’t require people to lie on them, but if you are making these inserts for a sleeping pillow, you must be conscious.
There are a few factors that you might want to consider before you get on with your thread and needle.
Also Read: 21 Laundry Room Shelving Ideas for Your Laundry Room
Factors to Consider Before Getting the Fluff
- The kind of fluff you are using is very important.
- The stuffing pattern is crucial, too, for some people demand hard pillows while others go for soft and fluffy ones. You must be conscious of your allergies and getting hypoallergenic materials, too.
- The pillow insert cover needs special attention. You might not want to use artificial fabrics like polyester and terryline. Instead, using natural fibers made fabrics like cotton is a better choice.
- The breathability of your pillow insert cover and fluff should be kept in mind.
- The size of your pillow should be taken care of
Markets are full of different kinds of pillow fills, and it is one heck of trouble to buy a pillow insert while using it; if you find out that it is not made for you, there is a very tiring returning, refunding, and replacement procedures and more often then not, you will end up wasting your money.
That is why it is recommended to use a self-made pillow insert. This way, you can make as many alterations to it as you want
Next time, when you go home decor shopping, don’t ever buy pillow inserts at all. Save that money and get yourself something pretty instead.
Best Pillow Fluffs Available in The Market
What are pillow inserts? It comes with an adjacent question of what pillow inserts are made of, and this section is wholly dedicated to the inside materials of the pillow insert.
These days, markets are full of pillow fluffs, and you must have a little information about them, too. We are covering only the best here.
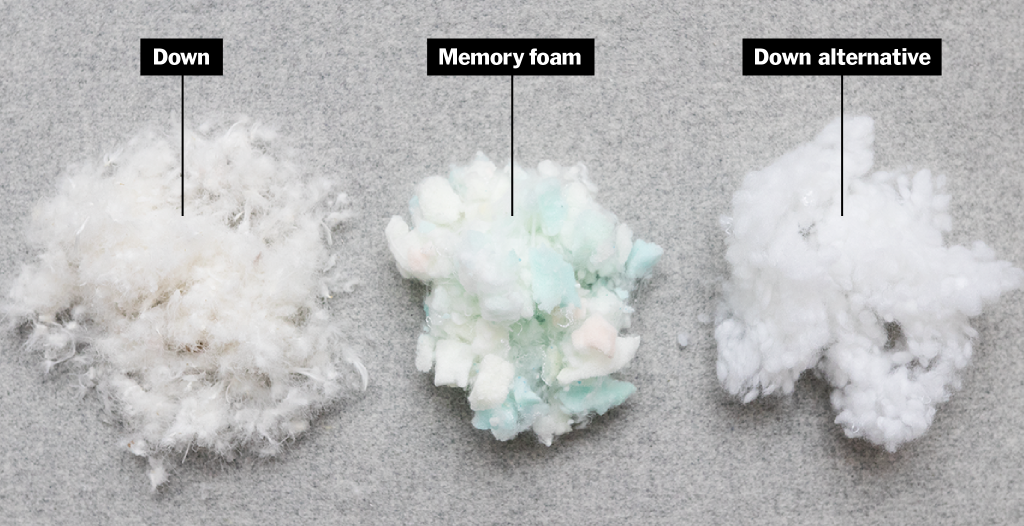
- Down Pillow Filling: They are made from the undercovers of birds’ feathers. They have all good properties except for their heat retention disadvantage.
- Feather Pillow Filling or Down Alternative: Cheaper than down pillow filling, possessing all its qualities except that after a time, they tend to cluster together.
- Memory Foam Filling: Made of polyurethane and other chemicals, it tends to soften with age, possessing all good qualities except for hazardous off-gassing and chemical odor.
There are many other varieties, and to dig into their details, we need another section wholly dedicated to them. Rather, let’s get on to why we were actually here, i.e., the DIY steps.
How to Make Pillow Inserts with Easy DIY Steps?
Now that we know what pillow inserts are, let’s get to know how we can make them all by ourselves, and before anything, let us tell you that they are super easy to do and can be done with minimal materials.
And since we are a great fan of reuse, reduce, and recycle, we will give you an alternative way to make these pillow inserts using your old pillow materials.
Materials You Will Need
There are a few things you must first get before you get along with scissors and pins.
- Fluff Materials like feathers, cotton, etc.
- thread and needle
- Soft tape measure or a ruler
- Pencil or Chalk
- Pins
If you are making pillow inserts using old pillow materials, then:
- Scrap fabric or the used ones (bleached and cleaned before use)
- Old pillows (or you can get old pillows from any thrift store at around $0.50 to $1.50 per pillow)
Now that you know what pillow inserts are and where to get the materials, let’s get to know how they are made. Read along as we provide you with a step-by-step guide for making the best and fluffiest pillow insert ever.
Step 1: Measurements are Important
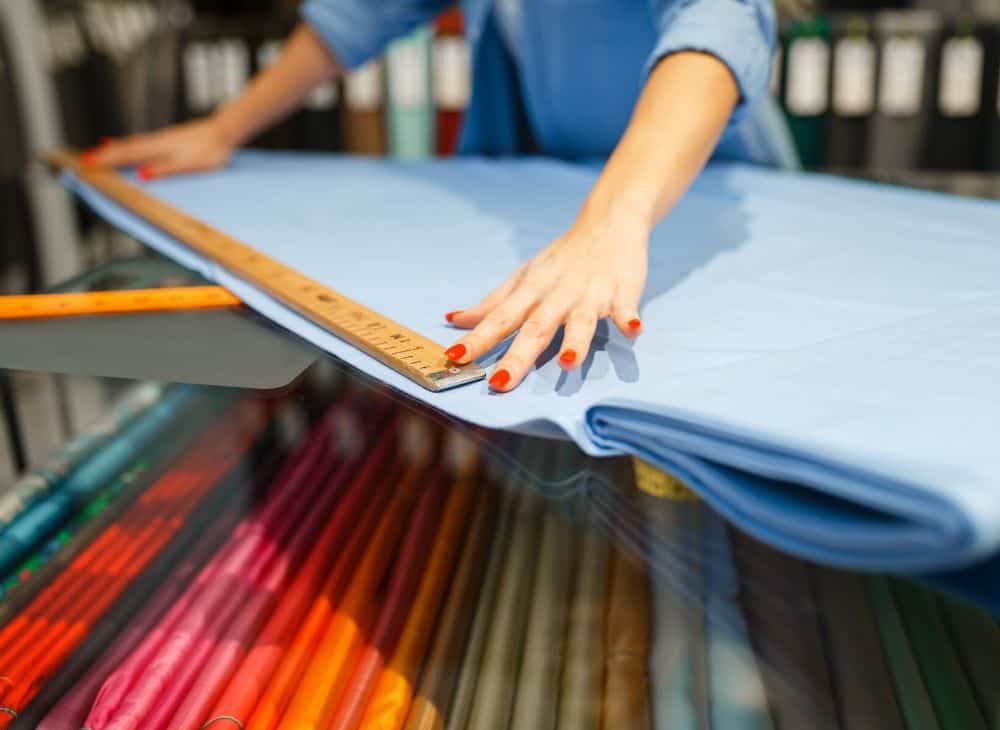
Before you start, it is important for you to know what size you require. Obviously, you can’t make your pillow inserts exactly the size of your pillow covers because they won’t fit in. The size of pillow inserts is slightly smaller than that of the pillow cover.
So you need to get the measurements first. The standard pillow insert size is 20×20 inches.
Related: 21 Front Porch Decorating Ideas to Transform Your Home’s Look
Pro Tip: Whenever you cut the fabric (be it in the case of the new pillow insert cover or the used one), always remember to keep at least 1 inch extra because this one inch will dissolve in while stitching.
If you refrain from doing so, your pillow insert will end up getting a lot smaller than what you have measured. Also, remember that your pillow insert should be at least 4 inches smaller than your pillow cover from all four sides.
Additional Step: Washing the Old Ones (only in The Case of Reusing the Old Pillow)
If you use an old pillow as a fill or just had one from the thrift store, wash them without blinking (even if the tag says dry clean only, still wash it). The insects and germs must lay off from the pillow insert, or else you will have lifetime trouble with lice, parachutes, etc.
Step 2: Cutting the Fabric
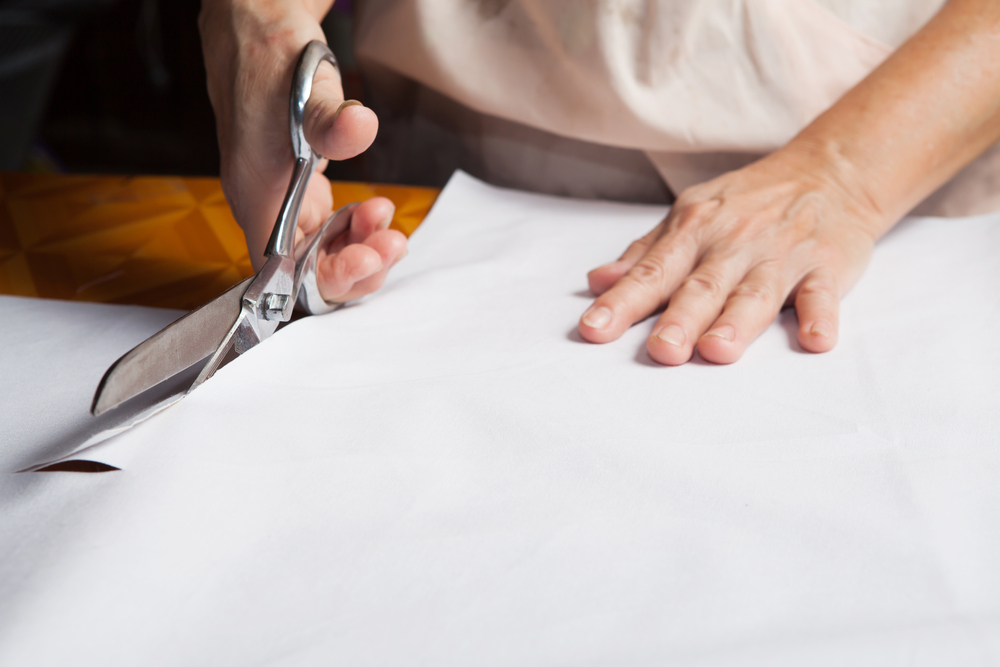
Now that you have the measurements aligned cut the fabric (or if it is the used pillow, cut the pillow). Pin the fabric so that it never moves from its place. Clear and store the remaining fluff or feather that has overflown from the cut pillows.
Make sure you pin the three sides of the fabric. Don’t pin the fourth side, as it has to be open because it is from where you will be filling in the fluff material.
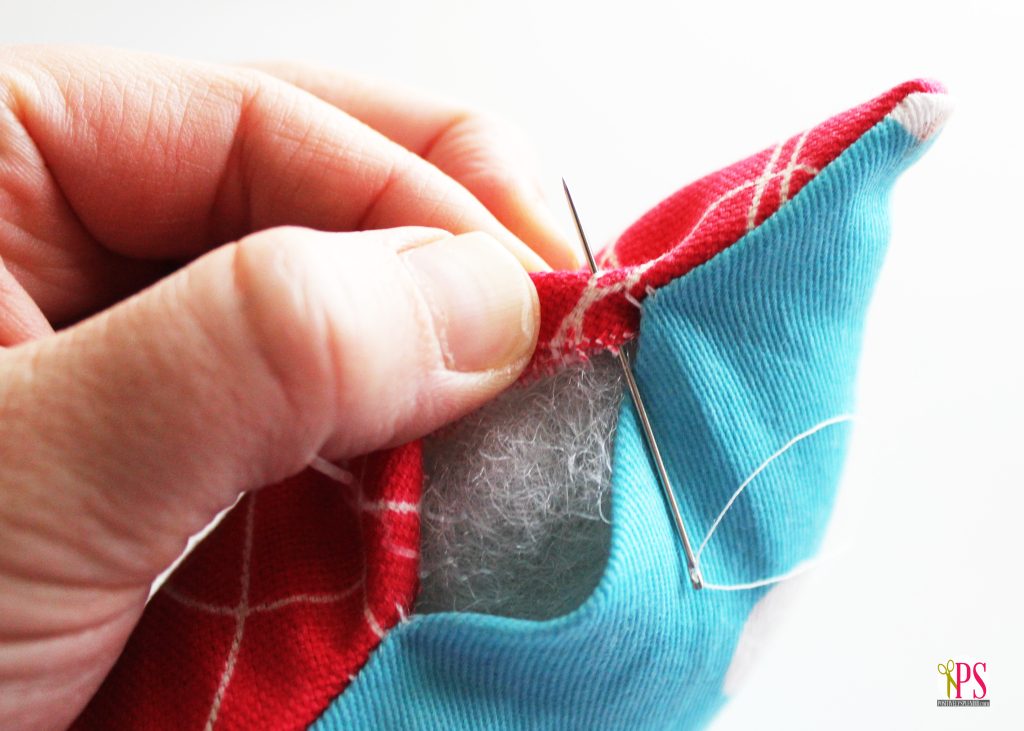
Step 3: Stitch It Up and Stitch It Down
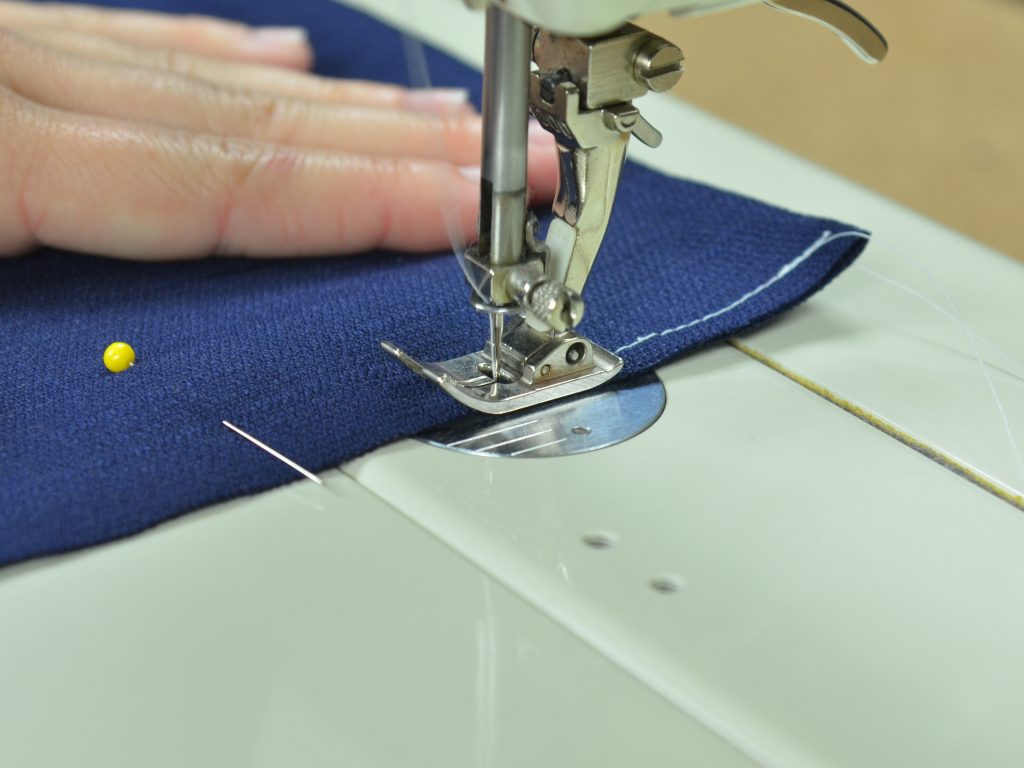
It’s time to stitch the fabric. Don’t remove the pins. Keep stitching parallel to them. You can use either a sewing machine (for perfect finish and time-saving) or thread and needle (a little time-consuming).
In either of the ways, perfection in stitching is not required since the pillow inserts would be inside the pillow covers and, thus, remain hidden.
Using a sewing machine, corners can be hard to stitch in. You have to lift the presser foot (of the sewing machine) and turn the fabric. Make sure that your needle is still embedded inside the fabric. Now, lower the foot and stitch it all the way.
If you use an old pillow, the feather will keep coming out of the case. You have to push them back in and continue sewing with speed continuously. This is comparatively harder if you are machine stitching.
If you are hand stitching, you might want to repeat stitches three to four times on each side so that the feather or fluff stuffings stay in place.
Step 4: Time to Stuff the Fluff
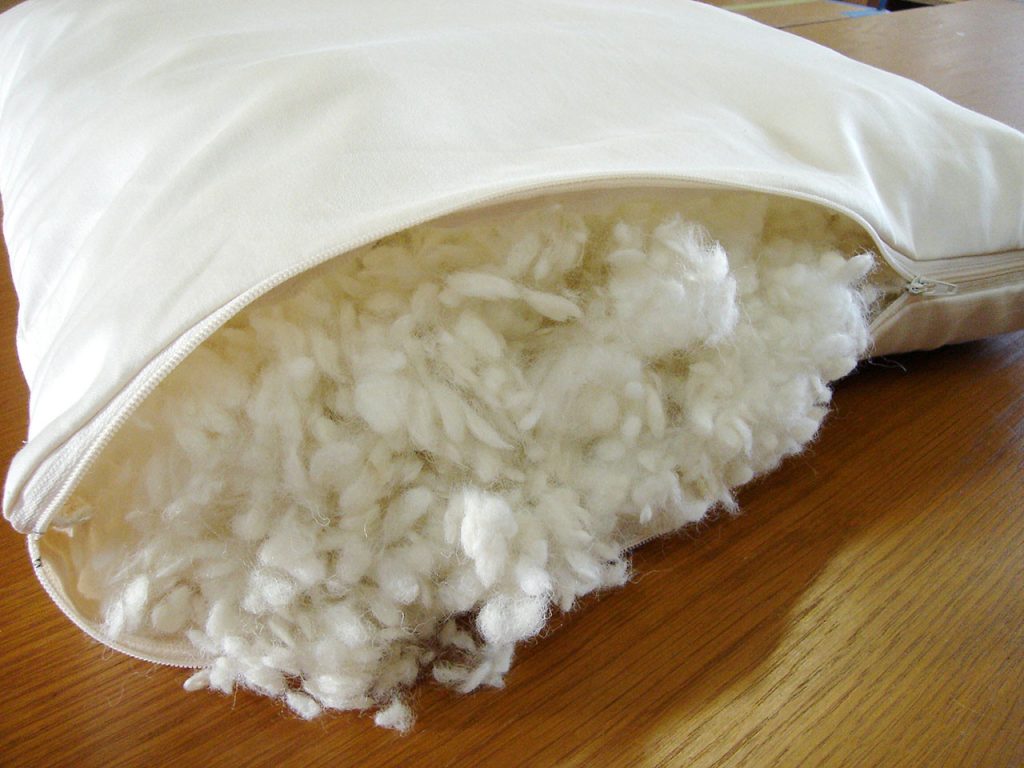
This is the most fun part ever. And there are two different cases to consider. Let’s decipher them to understand better.
- If you are using store-bought pillow fluff, then we are not discussing the reused materials. If you have stitched the covers from ground 1, you must have bought fluff from the market. Be it feather or polyfill or whatever, start filling them inside your pillow insert from the opening that was left unstitched.
- If you are using fluff from an old pillow, in this case, you have stitched the pillow insert cover. All you need is fluff now, and you have not purchased it from the market. Now, to do this, get an old pillow insert, cut it open, take out all the fluff material, push it down in the new pillow insert, and cover it up until it is full and fluffy.
Pro Tip: Don’t forget to separate the fluff first using your fingers. Fluff materials tend to tangle together and thus give out a very uneasy feel, hitting you just in the wrong spots. Therefore, it is a must to detangle them beforehand, and using your fingers is the best way to do so.
Step 5: Pin Back, Sew Back

Now that your fluff is inside the pillow inset, it’s time to seal pack the left-out gateway. To do this, first, pin up the stitching area so that the fluff and fabric remain intact and in place. Now, all you must do is sew back, running parallel to the pins.
If you are using a sewing machine, then one stitch is enough, but if you are hand stitching, five to six repetitions of stitches might do the work for you. Don’t worry; this time, you don’t have to work around the corners and the edges.
Pro Tip: To stitch with ease, use one hand to run the fabric along the machine and use the other hand to compress the pillow close to the needle in the case of the sewing machine.
If hand stitching, use one hand to shut the opening so that the fluff doesn’t fall out, and use the other hand to stitch along.
Step 6: Cover It Up
Your pillow insert is ready now. All you have to do is cover it up using your beautiful pillow cover. Fluff it a little using your hands, and you are good to go. You were earlier asking what is a pillow insert and in no time now, you have one made right from scratch all by yourself. Isn’t it amazing?
Wrapping It Up!
And we are done. Stitching a pillow insert is one of the easiest things to do yourself, for it needs no finishing, no additional touch, and maybe a little struggle with fluff, but that is an effort worthy. In no time, you can have a pillow insert made from scratch and at a cost of nothing.
In this blog, we have summarised everything that you need to know, including the pain points, pro tips, and easy DIY steps keeping because of your ease and comfort.
Always reuse the materials you have, be conscious of the environment and the space you live in, and get in your tailor’s shoes, for with these tips and tricks, you are about to bring a massive change to your indoors.
Check This Next: 28 Incredible Modern Rock Garden Ideas for Your Backyard