Are you tired of misplacing your stud earrings or struggling to find a matching pair? A stylish and functional solution is to create your DIY stud earring holder. Not only will this save you time and frustration, but it will also add a personal touch to your jewelry organization.
With just a few materials and a little creativity, you can design a holder that perfectly suits your style and needs.
Consider using a decorative frame or a piece of fabric stretched over a wooden frame to create a charming display for your stud earrings. Not only will this make it easier to find and select your earrings, but it will also add a lovely decorative element to your vanity or dresser.
Plus, you can customize the earring holder to match your room decor or personal style. With just a few simple materials and a little bit of creativity, you can have a beautiful and organized DIY stud earring holder for all your stud earrings.
But before that, let’s see some methods by which you can add a different charm and make your DIY stud earring holder a bit more special.
Similar Post: 11 Genius Outdoor Privacy Screen Ideas to Enjoy in Peace
Method 1: Lace and Ribbon Board
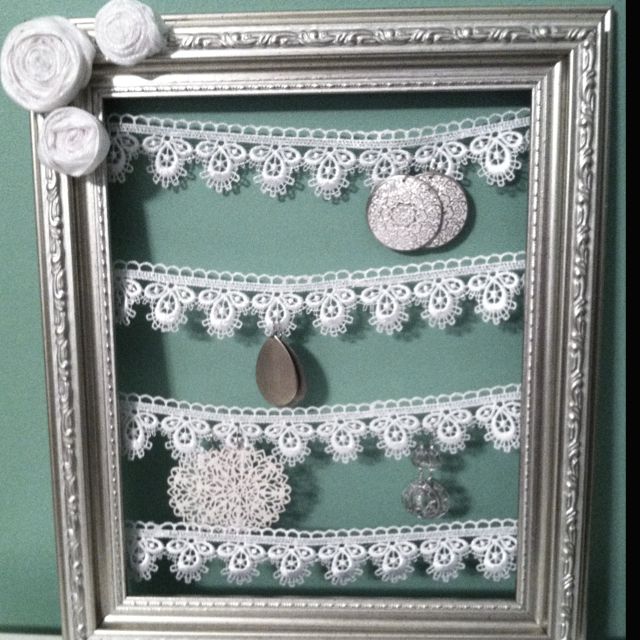
For a feminine and delicate earring holder, you can create a lace and ribbon board. Start by finding a decorative frame that suits your style. Remove any glass or backing from the frame.
Cut a piece of lace fabric slightly larger than the frame and glue it to the backboard of the frame.
Then, take a wide ribbon and weave it in a crisscross pattern across the lace fabric, securing it with glue or small clear thumbtacks. This will create a grid-like pattern for you to attach your stud earrings to easily.
Hang the frame on a wall or place it on a dresser for a stylish and functional DIY stud earring holder.
Method 2: Burlap and Frame
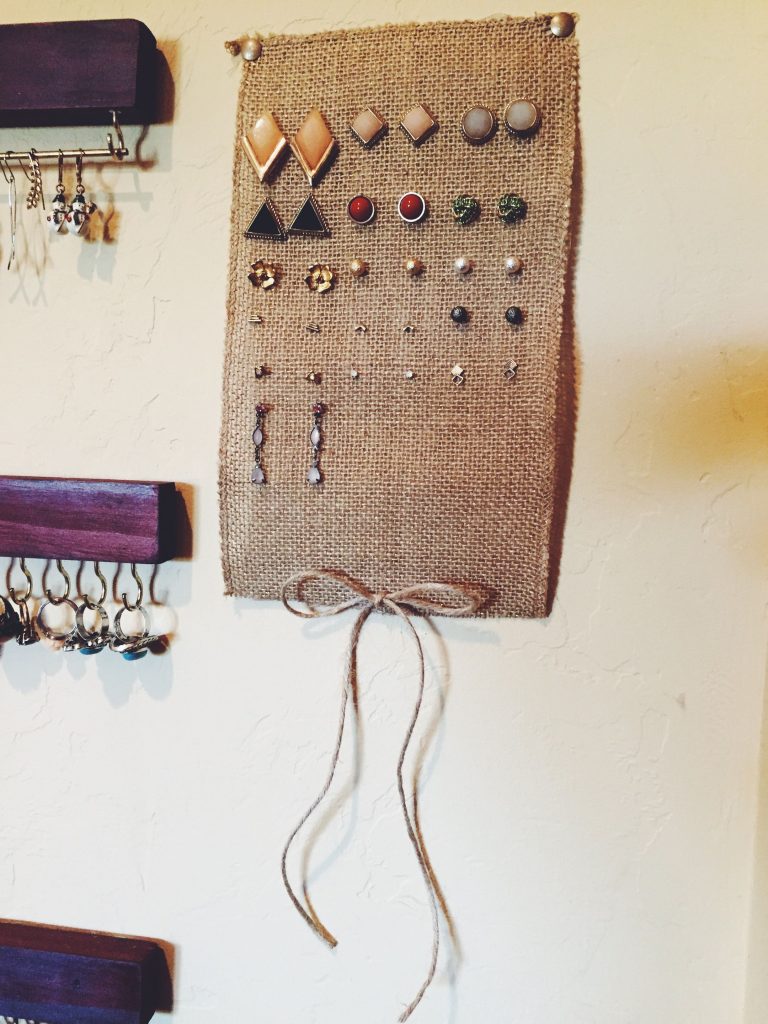
If you prefer a rustic and natural look for your DIY stud earring holder, consider using burlap and a simple frame. Start by removing the glass and backing from the frame. Cut a piece of burlap fabric to fit the frame size.
Attach the burlap to the backboard of the frame using a staple gun, ensuring it is tight.
Then, use small safety pins or decorative thumbtacks to hang your stud earrings on the burlap fabric. The texture of the burlap adds a unique touch to your earring holder while keeping your stud earrings organized.
Also Read: Efficient Techniques for Spray Painting Picture Frames
Method 3: Wood Block with Screws

For a more industrial and minimalist style DIY stud earring holder, try using a small wooden block and screws. Start by finding a small rectangular piece of wood, about 6-8 inches long. Sand the wood to smooth out any rough edges.
Next, mark the spots where you want to place the screws. Make sure to space them out evenly and leave enough space between each screw to attach and remove your stud earrings easily.
Use a drill to create holes at each marked spot and then screw in the screws. You can leave the wood natural or paint it to match your decor. This simple and practical DIY stud earring holder is perfect for those who prefer a more modern and clean aesthetic.
Method 4: Picture Frame with Window Screen
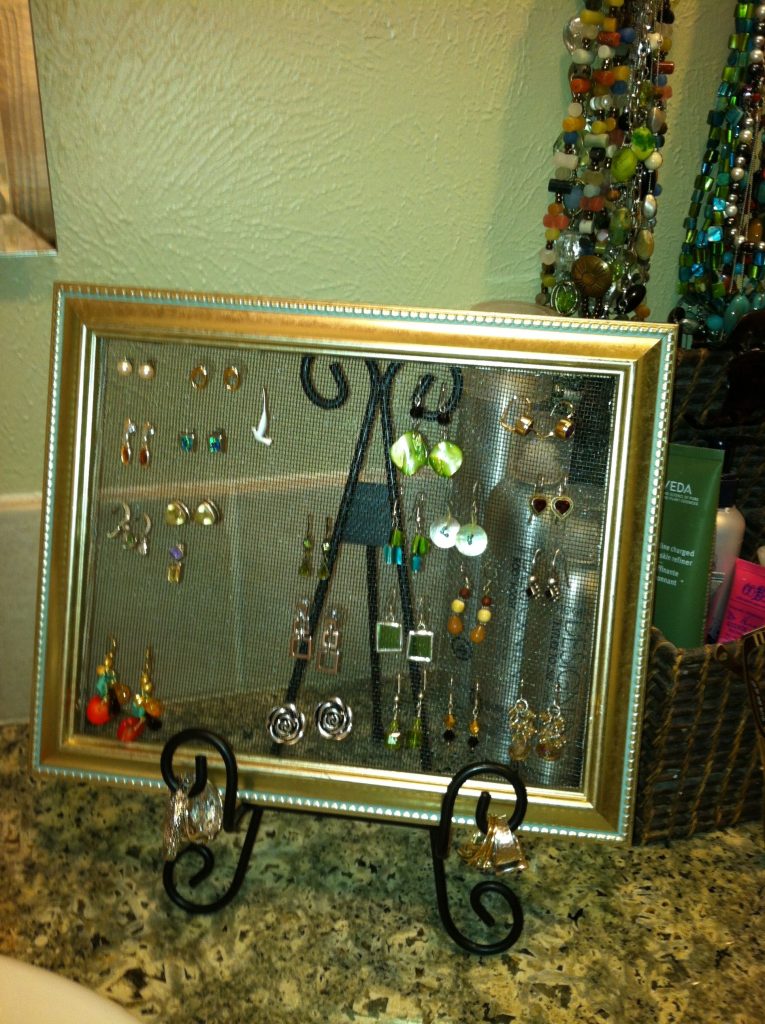
If you want a classic and versatile DIY stud earring holder, repurpose an old picture frame and use window screen material. Start by removing the glass and backing from the frame. Measure and cut a piece of window screen material to fit the frame size.
Attach the screen to the frame’s backboard using a staple gun or small nails. The window screen’s grid-like pattern allows you to easily slip your stud earrings in and out while still keeping them securely in place.
Hang the frame on the wall or use a stand to display it on a vanity table or dresser.
Method 5: Vintage Cheese Grater Earring Holder
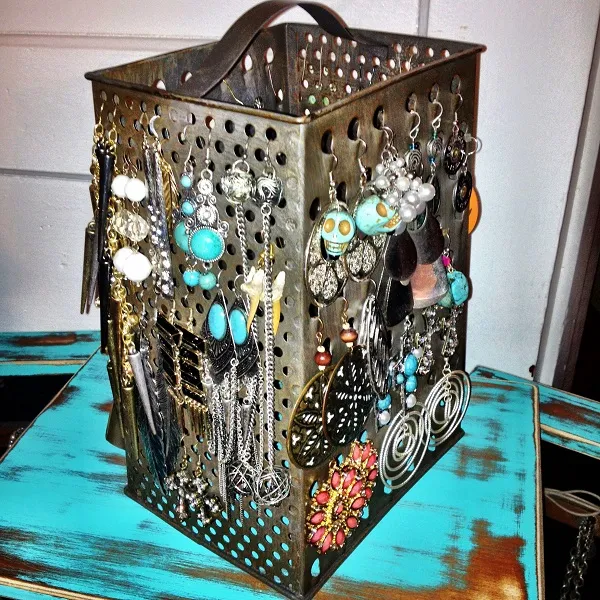
For a unique and quirky DIY stud earring holder, repurpose a vintage cheese grater. Start by finding a vintage cheese grater that has a flat base and some exposed holes. If the grater has a handle, you can remove it or fold it down to create a flat surface.
Clean the grater thoroughly. Insert your stud earrings into the holes of the grater, and the exposed side of the grater becomes a creative and functional holder. You can also place small hooks or rings on the grater to hang dangly earrings or necklaces.
Display your repurposed cheese grater on a dresser or in a bathroom for a charming and unexpected touch.
How to Do a DIY Stud Earring Holder
Now that you know what kind you want, you can make your DIY stud earring holder. This project is easy, affordable, and customizable to fit your style.
Materials Required:
- Picture Frame (any size and shape)
- Chicken Wire or Mesh Screen
- Wire Cutters
- Staple Gun and Staples
- Spray paint (optional)
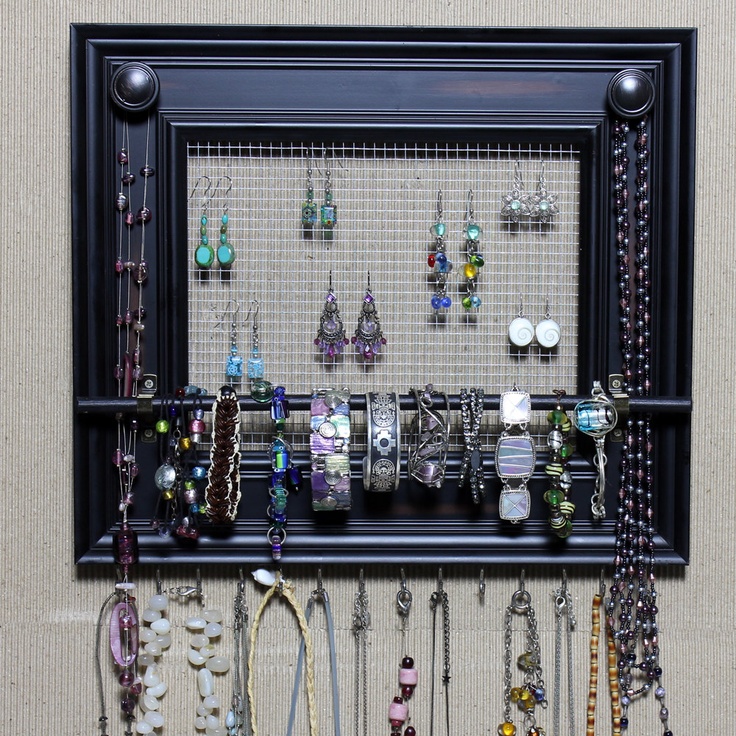
Step 1: Choose a Picture Frame
The first step is to choose a picture frame that will serve as the base of your DIY stud earring holder. Look for a frame that fits your style and the number of earrings you own. Remember that a larger frame will hold more earrings but may require more materials and time to complete.
See More: 21 Inexpensive Raised Garden Bed Ideas for Your Courtyard
Step 2: Remove the Backing and Glass
Once you have your frame, carefully remove the backing and glass from the frame. Set these aside, as they will not be used in the project.
Step 3: Cut the Chicken Wire or Mesh Screen
Using your wire cutters, cut a piece of chicken wire or mesh screen to fit the size of your frame. It’s okay if the wire or mesh is slightly larger than the frame, as it can be trimmed down later.
Step 4: Staple the Chicken Wire or Mesh to The Frame
Place the chicken wire/mesh onto the frame and use a staple gun to attach it to the back of the frame. Start by stapling the wire/mesh to one corner of the frame and work your way around, pulling the wire/mesh taut as you go. Make sure to staple the wire/mesh in place securely to hold the weight of your earrings.
Step 5: Trim the Excess Wire/mesh
Using your wire cutters, trim any excess wire/mesh that extends beyond the back of the frame. Be careful not to trim too close to the staples, which could cause the wire/mesh to become loose.
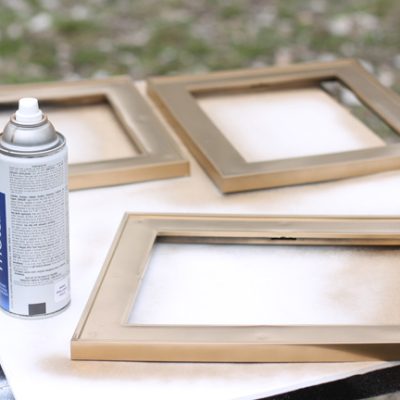
Step 6: Spray Paint the Frame (Optional)
If you want to add a pop of color to your earring holder, spray paint the frame in a color of your choice. Make sure to use spray paint that is appropriate for the material of the frame. Allow the paint to dry completely before moving on to the next step.
Step 7: Hang Your Personalized DIY Stud Earring Holder
Your DIY stud earring holder is now complete! Hang it on the wall using a picture hook or nail. To hang your earrings, place the earring backs through the wire/mesh, and the front of the earrings will be displayed on the front of a customized DIY stud earring holder
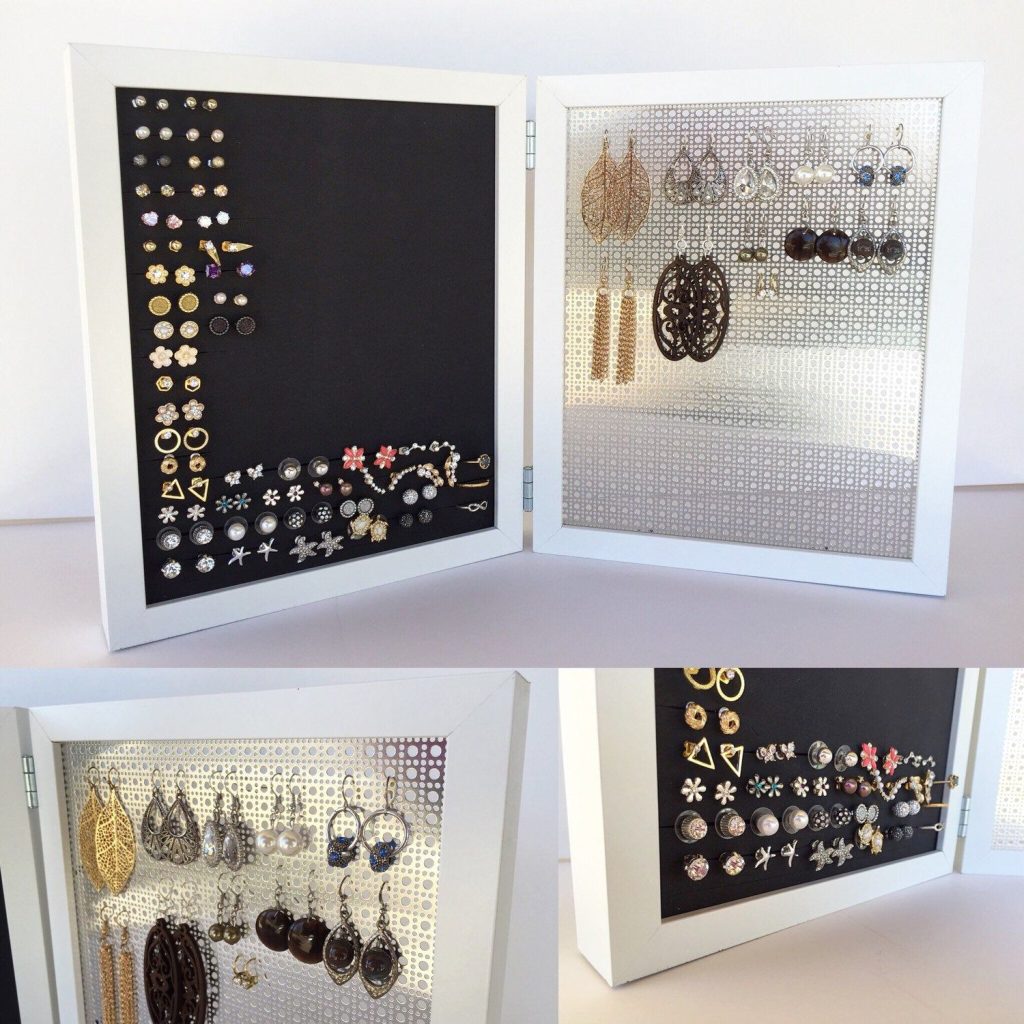
The best part of this DIY project is that it can easily be customized to fit your style and preferences. For example, you could use ribbon instead of wire or mesh or add decorative elements such as beads or stickers to the front of the frame. The possibilities are endless!
In addition to being a functional way to store your stud earrings, this DIY stud earring holder also serves as a decorative piece in your room. It’s a unique way to showcase your jewelry collection and add some personality to your space.
Tips for Maintaining a DIY Stud Earring Holder
Once it is made and is ready to adore your room and display your studs, maintenance is also a very important part. Maintaining a DIY stud earring holder is essential to keeping it looking good and functioning properly. Here are some tips to help you maintain your DIY stud earring holder:
1. Regular Cleaning
It’s important to clean your earring holder regularly to prevent dust, dirt, and oils from building up. Use a soft cloth or a gentle brush to wipe the surface of the holder and remove any debris. Avoid using harsh chemicals or abrasive cleaners that may damage the material of your earring holder.
2. Remove and Clean Earrings
When cleaning your earring holder, take the opportunity to clean your earrings as well. Remove all the earrings from the holder and clean them according to their specific materials and care instructions. This will ensure that your earrings are in good condition and ready to be displayed on the holder again.
3. Avoid Excessive Weight
Be mindful of the weight of your earring collection, especially if you have a DIY holder made of fragile or lightweight materials. Overloading the holder with heavy earrings may cause it to sag or break. Consider rotating your earring collection or using multiple holders if you have many heavy earrings.
4. Check for Loose Attachments
Over time, the attachments that hold your earring holder together, such as screws, staples, or glue, may become loose. Regularly inspect your earring holder for any signs of looseness or damage. Reinforce or repair any weak attachments to ensure the holder remains sturdy and durable.
Related: 21 Amazing Design Ideas for Cozy and Relaxing Screened in Porch
5. Store in a Safe Location
When not in use, it’s important to store your earring holder in a safe location to avoid accidental damage. Choose a spot that won’t be easily knocked over or subjected to excessive humidity or temperature changes.
6. Customize as Needed
If you find that your earring collection or storage needs to change, don’t hesitate to modify or update your DIY earring holder accordingly. You can easily add more mesh screens, lace, or other materials to accommodate additional earrings or changes in your style preferences.
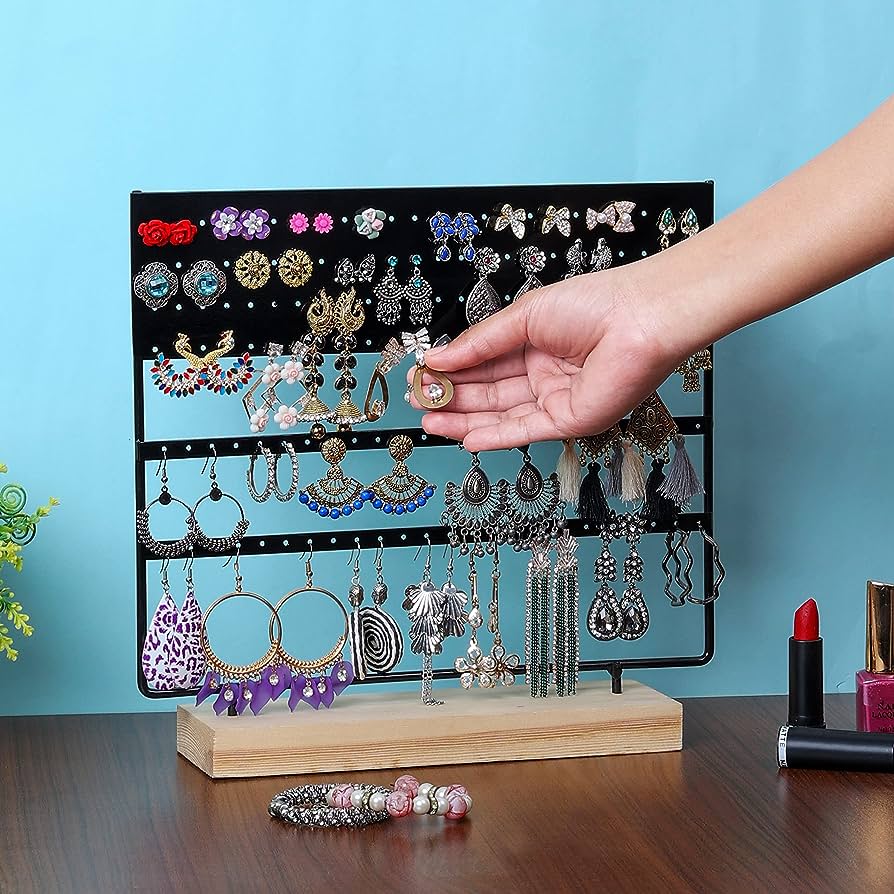
7. Using an Organizer
Consider using a clear acrylic box or a jewelry organizer with compartments to further protect your earrings from dust, moisture, and potential tangling. These storage options will not only keep your earrings organized but also make it easier to locate and select the pair you want to wear. Remember to regularly clean and polish your earring holder to keep it in good condition and prolong its lifespan.
Conclusion
In conclusion, making your DIY stud earring holder is a great DIY project that is affordable and practical. Whether you prefer a lace and ribbon board, a burlap frame, a wood block with screws, a picture frame with a window screen, or a vintage cheese grater, there is a method that will suit your style and needs.
These DIY stud earring holders not only keep your stud earrings organized and easily accessible but also add a personal touch to your jewelry storage.
It’s a great solution for those who have a lot of stud earrings and struggle with keeping them organized. By following these simple steps, you can create a stylish DIY stud earring holder that perfectly fits your style and needs.
So why not give it a try? Your earrings will thank you!
Check This Next: 13 Unforgettable Greenhouse SHE Shed DIY Ideas