The ceiling is the part that is often neglected when we plan our design, despite knowing how much charm it can add to your design. It can transform the look of the room and add visual interest to the overhead space. It offers a versatile and timeless solution. In this article, we will discuss installing it in an easy way, the materials required, and the designs.
But before moving, we should know what kind of design we want to install in our ceiling. The beadboard ceiling compliments a variety of design themes you can choose from. Right from traditional to aesthetic, if you are confused among these two then stay with us to get the answer to your questions.
Before we Jump on to the installation, there must be several doubts, so let’s begin with clarifying it first.
What is a Beadboard Ceiling?

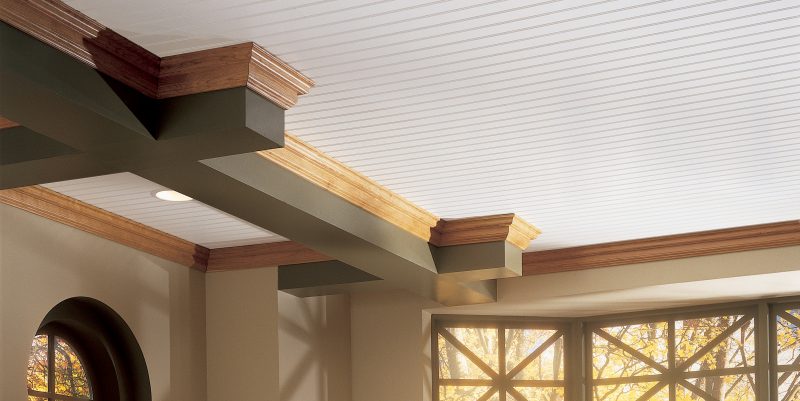
A Beadboard ceiling is a type of ceiling that is designed to cover our overhead surface using a beadboard. Beadboard consists of narrow strips of wood or MDF (Medium Density Fiberboard). When this beadboard is applied to the ceiling, it adds extra texture and charm to the ceiling. These beadboards are named after how they are made, like a series of beads. And these are cut along the length of a board that provides strength and also prevents warping. The MDF-type beadboard ceilings are more suitable for humid areas as they are resistant to moisture.
Similar Post: 21 Porch Ceiling Ideas to Enhance Your Outdoor Space
Easy Steps to Install Beadboard Ceiling Panels
Step 1: Measuring
Before we go for purchasing the material, we should first measure the size of the space to figure out our design plan. As we know, each of our rooms is different in size, so measurement becomes an important part. Using a standard measuring tape is a must. Knowing the dimensions on which you are working is of great importance.
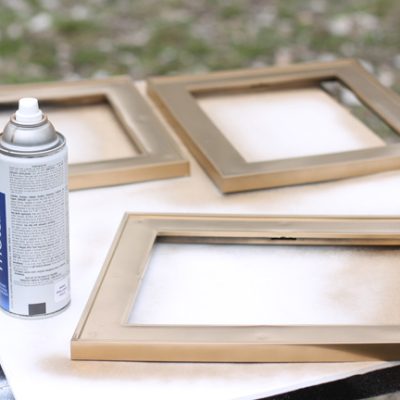
Step 2: Framing
This is the process in which the beadboard ceiling is covered with blocks of wood on the perimeter. Framing is a necessary part as it enhances the beauty of the beadboard ceiling and gives support to the beadboard. Small nails are used for these frames to attach.
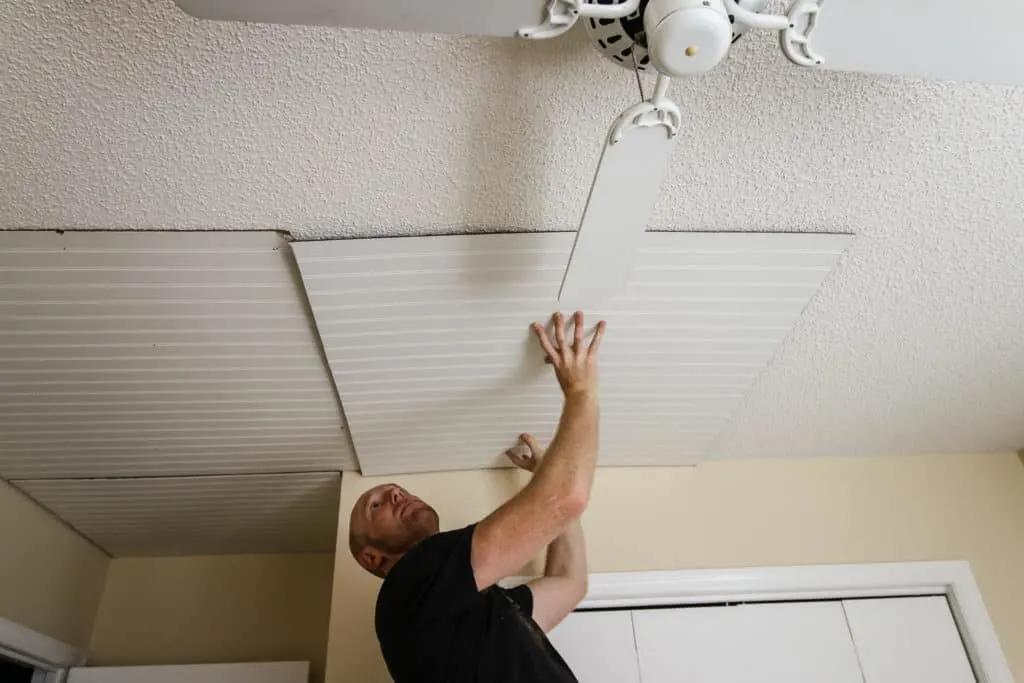
Step 3: Beadboard
Now It’s Time for the installation of the beadboard. When all the Framework is done, the beadboard is cut using a jigsaw and is fit in between the frames. Beadboards are generally of three types: wood, MDF, and PVC. Out of these three, the MDF and PVC types are affordable in price and can be used at places where there is humidity. Therefore these are mostly used in bathrooms.
Step 4: Filling
It is a very important part of the beadboard ceiling as it covers all the gaps that have been left separately and cannot be joined with nails or glue. A filling is used to fill the gaps that are formed between the frames and beadboard or the gaps that have been left Open due to nails. A filling is generally a semi-solid substance that hardens when applied in the gap and makes an even surface, making the structure strong.
Step 5: Prime and Paint
First, let’s know what a primer is. Primer is a type of paint that is put onto wood in order to prepare it for the main layer of paint. So the primer that is used in the beadboard ceiling is a good water-based primer. After the primer coating is done, a paint that suits your personality is done. Glossy paints are generally Preferred for ceilings. For painting either you can use a roller, paintbrush, or spray gun. People mostly prefer spray guns as it is easier, more convenient, and fast, whereas paint brushes are used to give an Ultimate finishing touch.
Follow these five steps properly, and you’ll be able to install the beadboard properly. However, if you feel like you cannot do it all by yourself now, then get a pro to do it for you, as there can be a certain risk in doing it.
Can You Put Beadboard Panels on The Ceiling
Beadboard panels are widely used to cover damaged or outdated ceilings. Still, nowadays, it has become a fashion statement to add a beadboard ceiling to your design, and everybody does it. Adding a beadboard ceiling not only hides the damaged portion but also enhances the beauty of the design. However, before installing beadboard panels on the ceiling, there are a few things to consider:
- Material: Beadboard panels are available in various materials, including wood, PVC, and MDF (medium-density fiberboard). Choose a material that suits your preferences and requirements, considering factors such as durability, moisture resistance, and maintenance.
- Ceiling Condition: Ensure that your ceiling is in good condition and free from any existing issues, such as water damage, cracks, or structural problems. It’s important to have a stable and even surface for the beadboard panels to be installed properly.
- Installation Method: Beadboard panels can be installed using adhesive, nails, or a combination of both. Follow the manufacturer’s instructions and choose a suitable installation method based on the material of the panels and the type of ceiling you have.
- Support and Fastening: Beadboard panels need to be properly supported and fastened to the ceiling to ensure they stay in place. Use appropriate techniques and materials to securely attach the panels, such as construction adhesive and/or finishing nails.
- Finishing and Painting: Once the beadboard panels are installed, you can finish and paint them to achieve the desired look. Consider using a semi-gloss or gloss paint finish for easier cleaning and maintenance, especially in areas prone to moisture.
Also Read: 11 Most Elegant and Inexpensive Ideas for Porch Ceiling
Materials Required for The Beadboard Ceiling Installation
The Ceiling is extremely the focal point of the room, And it gives a positive image of the room if the overhead space is so charming. So here are some basic materials required for the installation of the beadboard ceiling.
- Seat of beadboard
- Chop saw
- Nailer
- Air compressor
- Jigsaw
- 4ft level
- Lightweight spackle
- Paint sprayer
- Primer
- Adhesive
These are basic materials required for the installation of the beadboard ceiling that can add texture to your design. However, do not forget to consult the manufacturer’s instructions for the beadboard ceiling and adhesive you will use. This is because they have been in this business for so long and therefore have specific recommendations or requirements regarding materials and installation techniques.
Which is the Best Adhesive for a Beadboard Ceiling?
The best beadboard panel adhesive for the job is LePage No More Nails Paneling & Molding Construction Adhesive. This Adhesive is used in places where dampness is possible, for example, kitchen and bathroom. It provides instant grip, so if you do not wish to clamp or nail your beadboard, then you can leave it just on the Le page. No more Nails paneling and molding construction adhesive. Also, a lot of glue is not needed when you are nailing the beadboard.
What Are the Pros and Cons of Having Beadboard Ceiling in The House?
Everything has its merits and demerits. While beadboard ceilings are popular, thus, it is important to keep the pros and cons of it in mind before buying one.
Pros
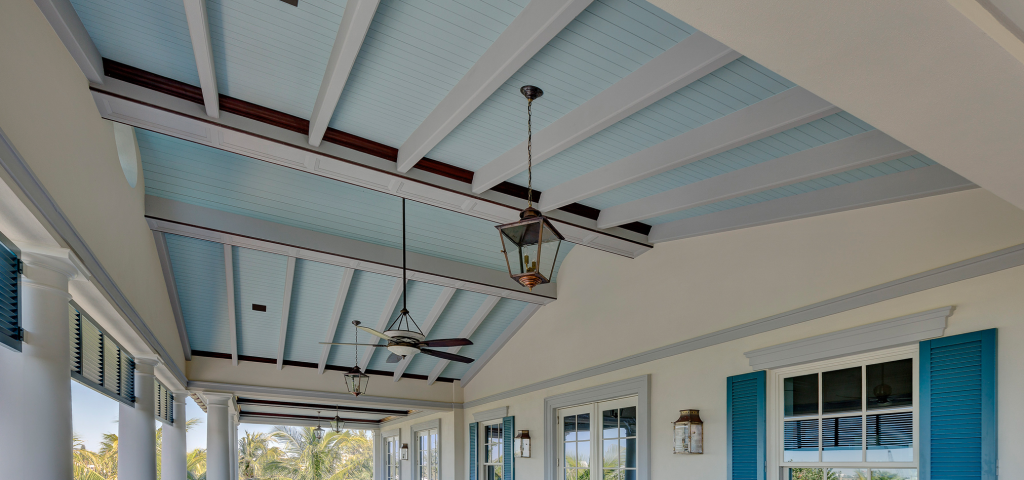
- It will give a new look to your entire set, as the ceiling is the largest surface in the room that is clearly exposed. Thus, the beadboard draws the eye upward and creates a visual texture.
- Suppose you do not like your existing popcorn ceiling texture. So you can opt beadboard ceiling to hide it instead of scraping it off.
- It is quite affordable compared to other available ceiling treatments.
- If you have basic carpentry knowledge, you can install the beadboard ceiling yourself.
Cons
- A leakage or faulty plumbing over the head can cause a water-damage beadboard. Thus, it might require replacement.
- If you don’t find it that appealing and wish to get it removed, then it is easy to do it, but once you clip it off, you’ll end up with multiple nail holes in the ceiling.
Related: 18 Beautiful Types of Ceiling Texture for Your Home Interior
Conclusion
Installing beadboard ceilings in your cabin or home will definitely add a vintage and aesthetic look to the place. Oslo is an easy-to-cover messier thing beneath.
However, we have mentioned all the necessary details above, from the basics to the steps to install the beadboard ceiling. Now all you need to do is that order a beadboard ceiling and install it in the desired place.
As we already mentioned that there could be certain risks, so if you are not confident, then you can surely call for a pro to do it for you. And once you install these classy ceilings in your home, you will surely feel proud of your decision. They are worth investing money in.
We hope that we cleared your queries well and you will be able to install your beadboard ceiling soon and revamp the space where you are putting in.
Check This Next: 21 Stunning White Cabinet Kitchen Backsplash Ideas