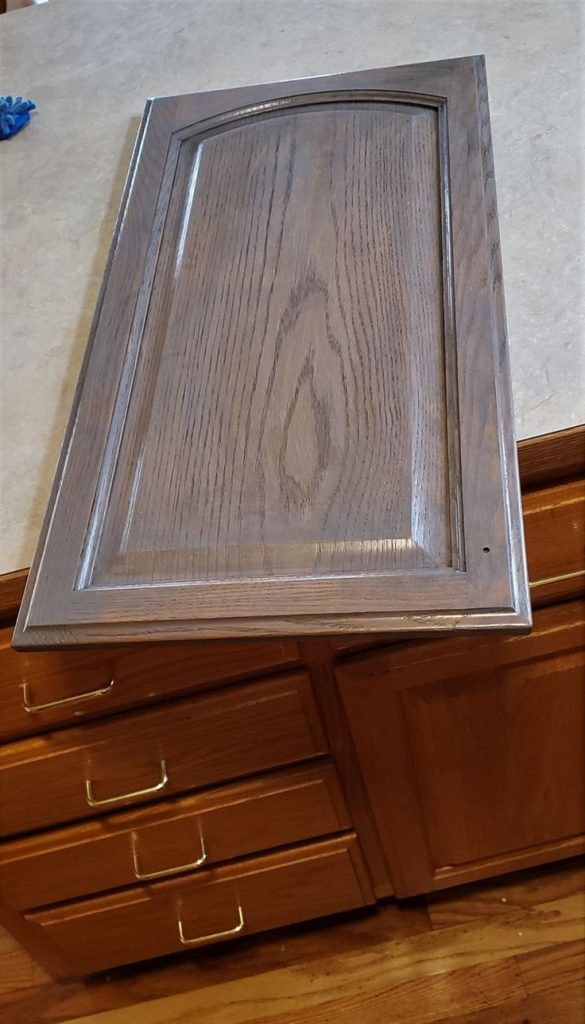
Doors are small yet integral parts of any household to maintain privacy. Moreover, a well-maintained garage door not only enhances the aesthetics of your home but also protects your belongings and provides safety.
However, it is necessary to provide a good garage door stain so that your door stays functional and protected. This is a great way to spruce up your garage door by applying a gel stain to give it a fresh, attractive look.
Gel stains are a popular choice for wood surfaces due to their ease of use. Also, these gel stains provide a rich, deep color. If you want to do a brand new stain for your garage door and wondering how to do it, then you have come to the right place.
We have mentioned all the details and the steps to transform your wooden garage door using gel stain.
Similar Post: 15 Best Wood Stain Colors for Your Next DIY Project
Can You Stain a Garage Door?
Yes, you can stain a garage door. Staining a garage door is a common practice and an effective way to enhance the appearance of the door and the overall appeal of your home.
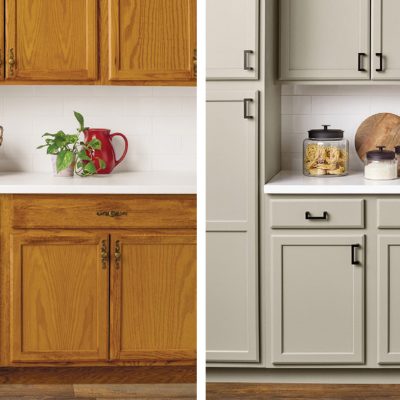
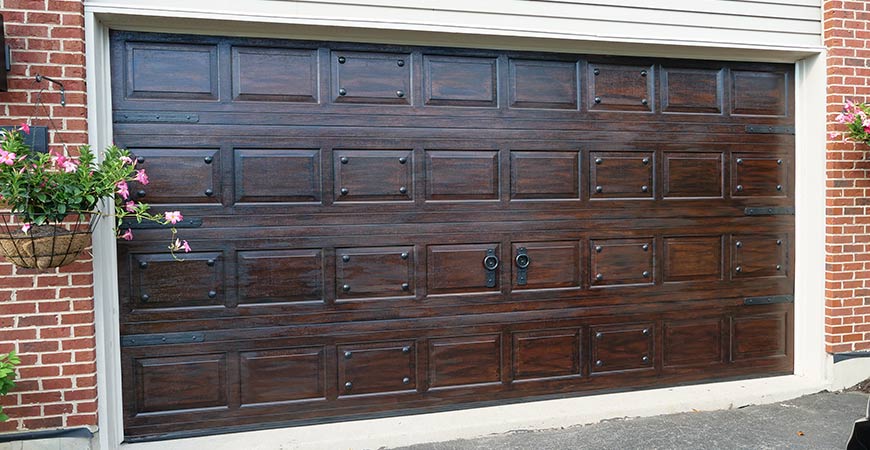
Garage door stains are available in various colors and shades, allowing you to choose a finish that complements the exterior of your house. Staining can bring out the natural beauty of the wood, highlight the grain, and provide a rich, deep color that adds character to the garage door.
Moreover, staining protects from some harmful elements. Also, it helps to maintain the life of the wood by preventing moisture penetration and UV damage. Whether you have a new garage door or want to refresh the look of an existing one, staining is an eco-friendly and aesthetically pleasing option.
Materials Required for Gel Staining
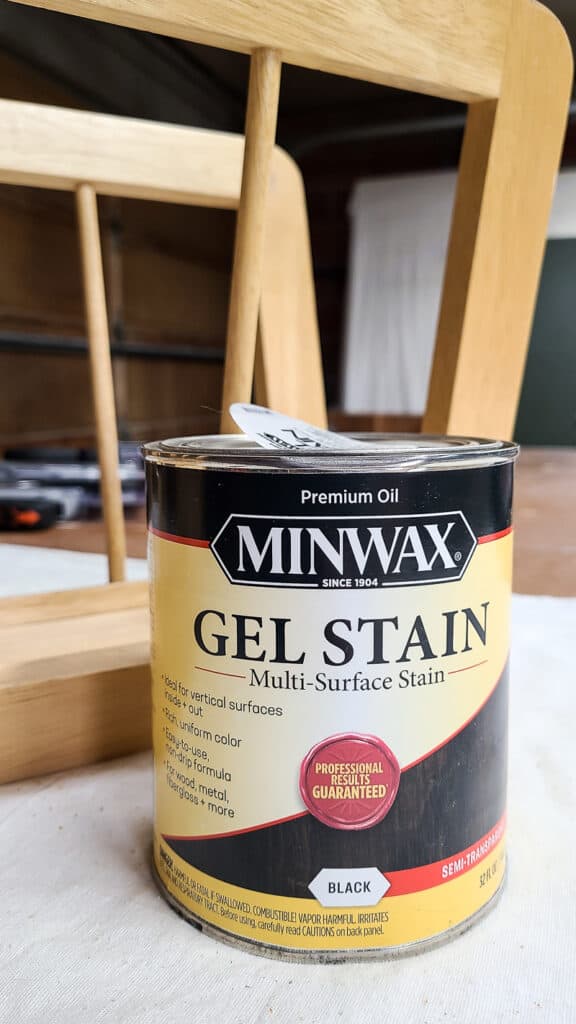
- Gel stain: Choose a gel stain in your desired color. Gel stains are available in various hues, allowing you to pick one that complements your home’s exterior.
- Sandpaper: Different grits (e.g., 80, 120, and 220) of sandpaper for sanding the wood to prepare it for staining.
- Sanding block or electric sander: For efficient and uniform sanding.
- Clean rags or brushes: To apply and wipe off the gel stain.
- Painter’s tape: To protect areas you don’t want to stain.
- Drop cloths or plastic sheets: To protect the ground or surrounding areas from any potential drips or spills.
- A well-ventilated work area: Make sure you’re working in a well-ventilated space, preferably outdoors or with windows open.
Also Read: 21 Bathroom Door Ideas to Design Your Bath Space
How to Choose the Right Stain for Your Garage Door
Applying gel stain to your wood garage door is both necessary and also enhances the frontal appearance of your garage door. However, choosing a gel stain for your DIY garage door stain project can be difficult.
This is because you must choose a stain that can protect your garage door and give it a more pleasant look. Thus, below are some steps that you can follow to choose the right stain for your garage door.
1. Check the Type of Wood
This is the first step to choosing the right stain for your DIY garage door stain project. All you need to do is assess the type and conditions of the wood used in your garage door. This is because different woods absorb stains differently.
Thus, it is important to understand your wood’s characteristics to choose the right gel stain for your garage door.
2. Choose Appropriate Color Options
So, you will always have various options in gel stains ranging from light to dark tones. So you have to choose the color that you want to have on your garage door.
The lighter stains tend to highlight the natural wood grain and create a more rustic look, while darker stains can provide a more modern or traditional appearance.
3. Always Test the Gel Stain
So before you are completely convinced to buy a particular gel stain for your DIY garage door stain project, you should definitely test it on a small area of your wood garage door. This allows you to see how the stain interacts with the wood and how the color looks once applied.
Make sure to test the stain on a similar piece of wood to the one used in your garage door to get an accurate representation of the final result.
4. Determine the Gel Stain Base
So basically, gel stains are available in oil-based and water-based formulations. However, each type has its pros and cons. Oil-based stains tend to penetrate deeper into the wood, providing a more durable finish, while water-based stains are easier to clean up and have a lower odor.
Choose according to your preferences, as well as the climate and environmental conditions of your area, when choosing between oil-based and water-based gel stains.
5. Evaluate Finish Options
Gel stains offer different finishes, such as satin, semi-gloss, or gloss. Clearly, the finish affects the level of shine and reflects light differently, impacting the overall appearance of your wood garage door. So now you must choose a finish that complements your desired aesthetic and enhances the wood’s natural beauty.
These are some basic things to remember when buying a gel stain for your DIY garage door stain project. Keeping these things in mind before buying a gel stain will help you to decide better.
Also, it is necessary to follow the manufacturer’s instructions to achieve a long-lasting finish that will not only enhance your garage entrance but also protect your garage door. So ensure you have all the necessary tools and follow the guidelines for prep work, application, drying times, and any additional coats that may be needed.
Steps to Stain Your Garage Door
DIY garage door stain is easy, and you can easily create a new piece for your home. Just follow these easy steps to apply gel stain.
Step 1: Prepare the Surface
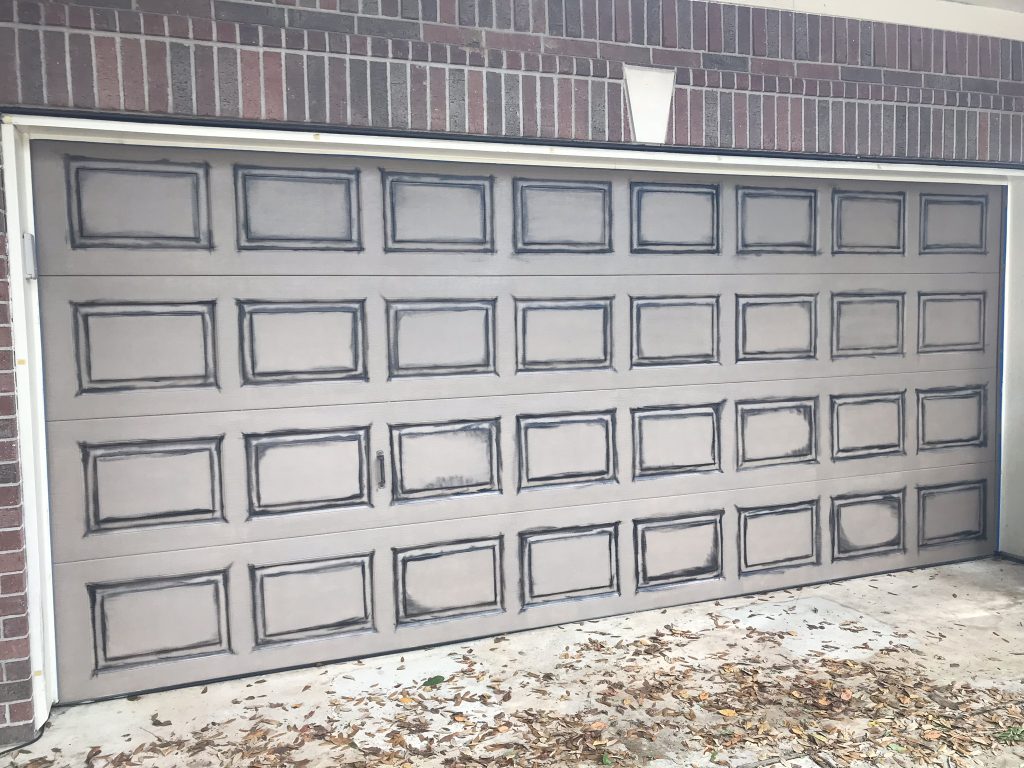
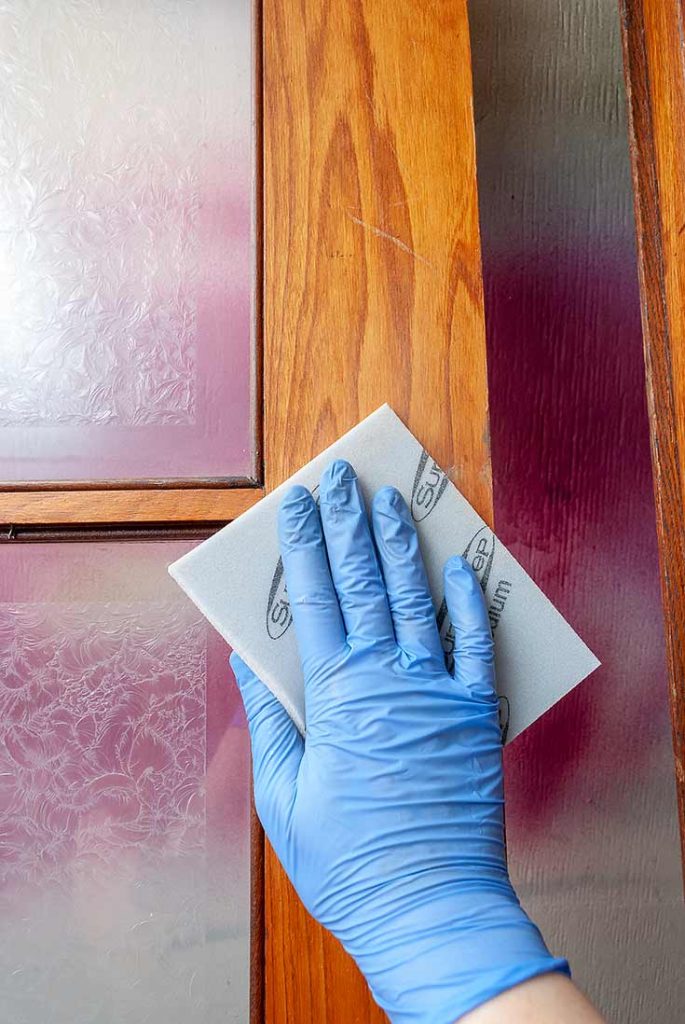
The first step is to thoroughly clean the door’s surface, removing any dirt, grime, or residue. This can be done using a brush, damp cloth, or mild detergent. Next, sand the door’s surface using sandpaper of varying grits, starting with a coarser grit to smooth out any imperfections and rough spots then progressing to finer grits for a polished finish.
Sanding helps create a uniform surface and allows the stain to adhere more effectively.
See More: 15 Fun, Functional, and Stylish Hidden Door Ideas
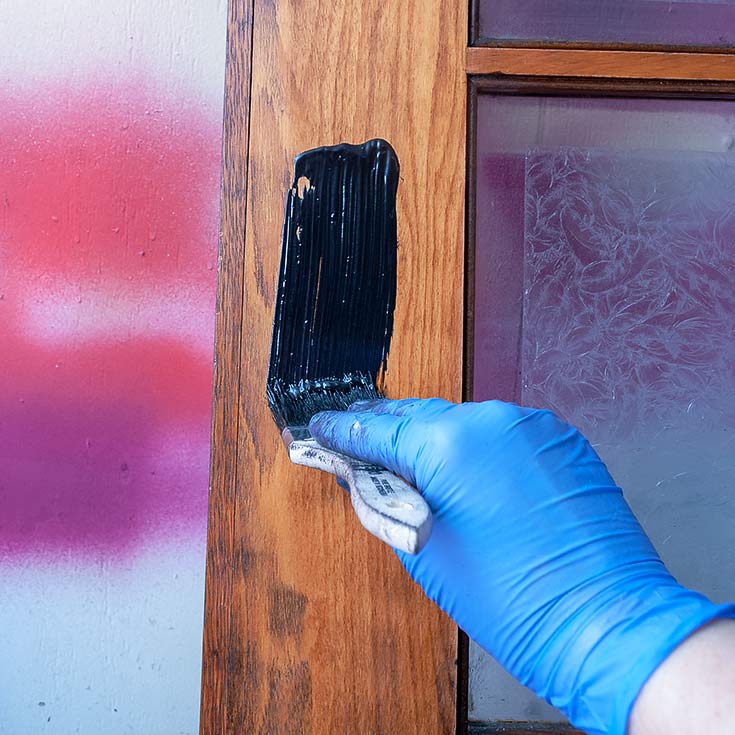
Step 2: Apply the Gel Stain
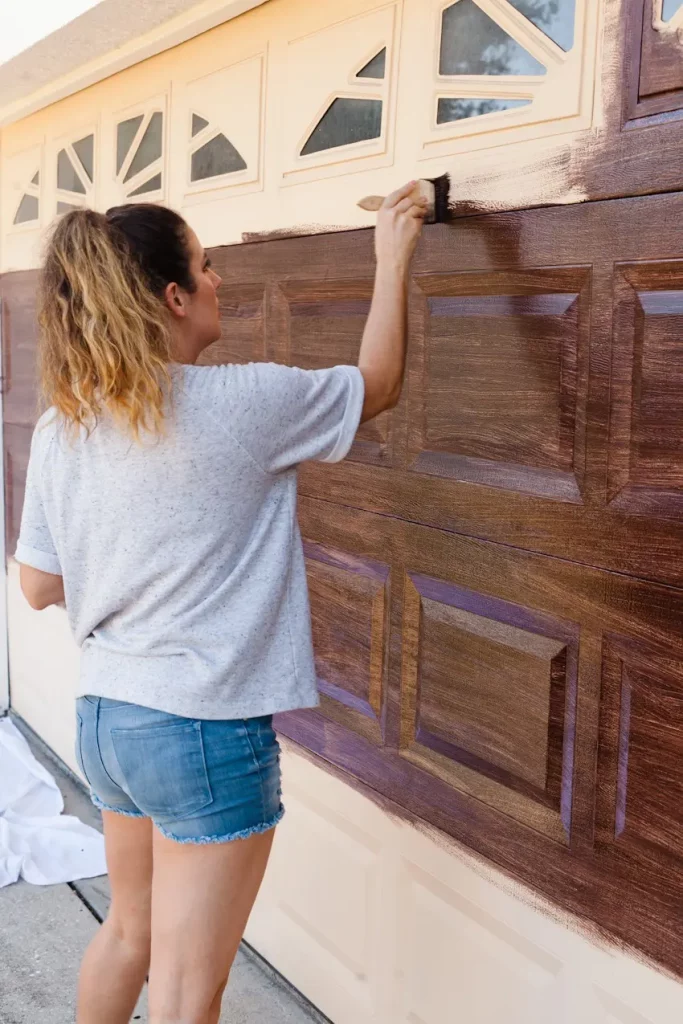
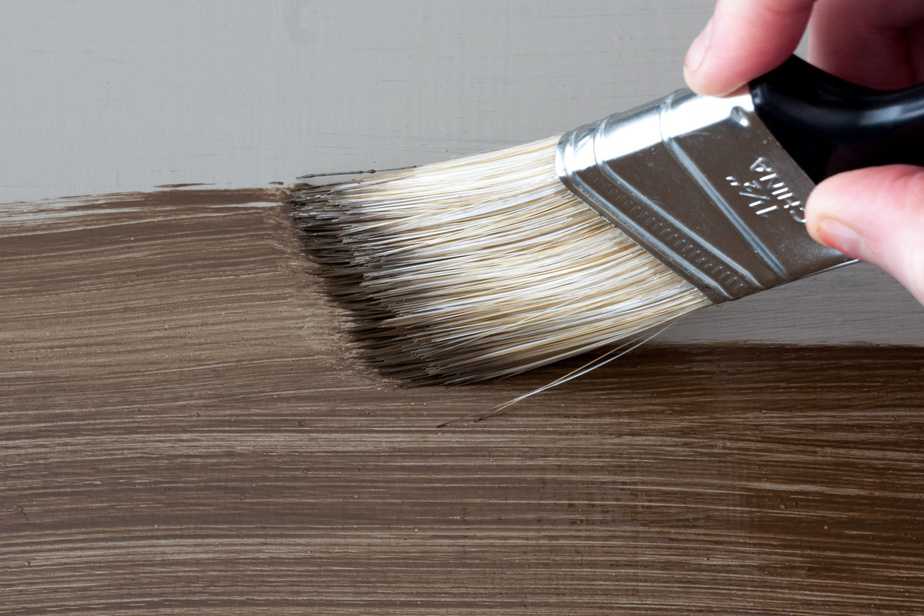
First, before you open the can of gel stain, give it a good stir to mix all the colors nicely. It’s like mixing your paint colors! Then, grab a clean rag or a brush and put on the first layer of stain.
Make sure it’s a thin and even layer, and always stroke in the same direction as the wood grain. Cover all parts of the garage door with this stain. After that, you must wait a while to let it dry. Usually, it takes a few hours, just like when you’re waiting for your paint to dry.
If you want the color to be even deeper and richer, you can put on more coats of stain. Just make sure each coat is completely dry before you add another.
Step 3: Wipe Off Excess Stain
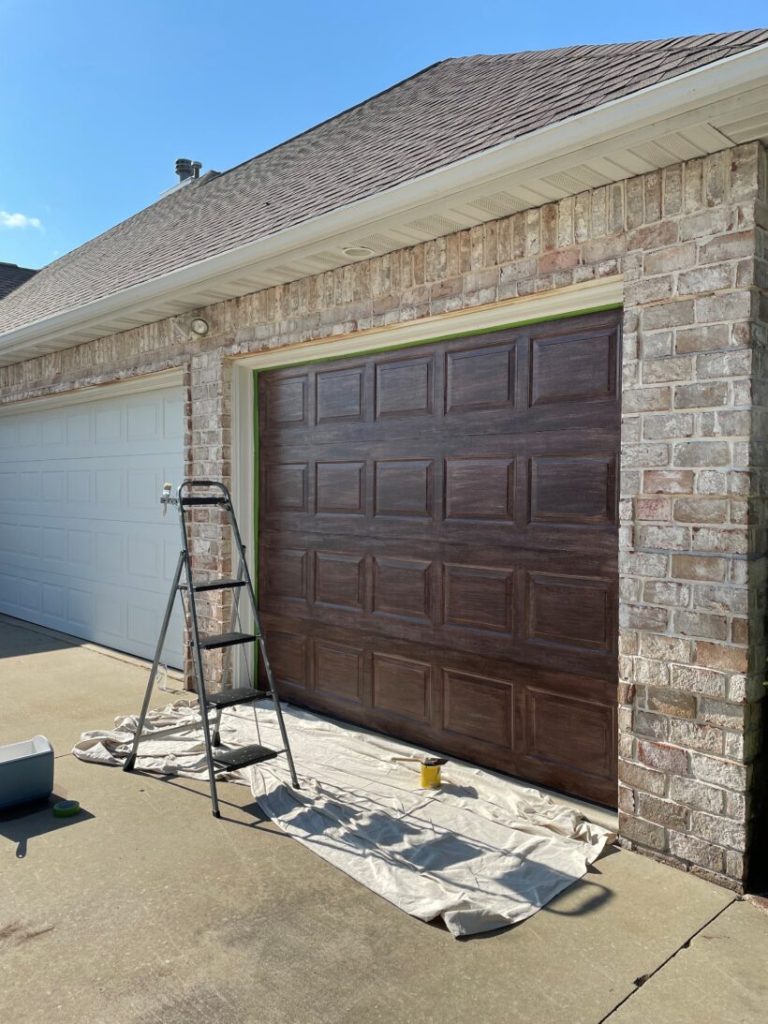
While you are working with garage door stain, you need to understand that you must have a spare cloth to clean the excess stain. After you have done coating the stain on the garage door, you need to allow it to dry.
Meanwhile, you should use a clean, dry cloth to remove any excess stains. This will help achieve a cleaner and finished look to your garage entrance. Also, you can use the cloth to clean the nearby areas where the drop of stain might have dropped while coating the door.
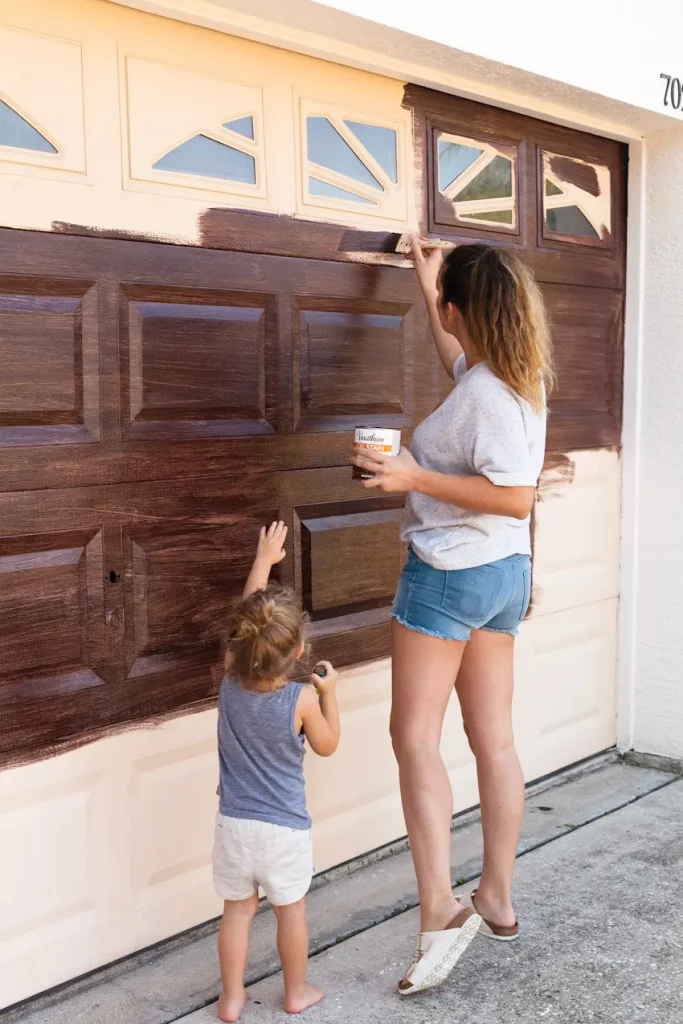
Step 4: Detail Work
This step will give your DIY garage door stain project a more professional look. If your garage door has windows or certain parts you don’t want to color, you can use painter’s tape. It’s like adding a protective barrier. Carefully put the tape on those areas to keep them safe from the stain.
Then, for the little details and edges of the garage door, you’ll need a small brush or a rag. Use this to apply the stain carefully. It’s like coloring inside the lines to make sure those parts look just right. Take your time and gently get it just how you want it.
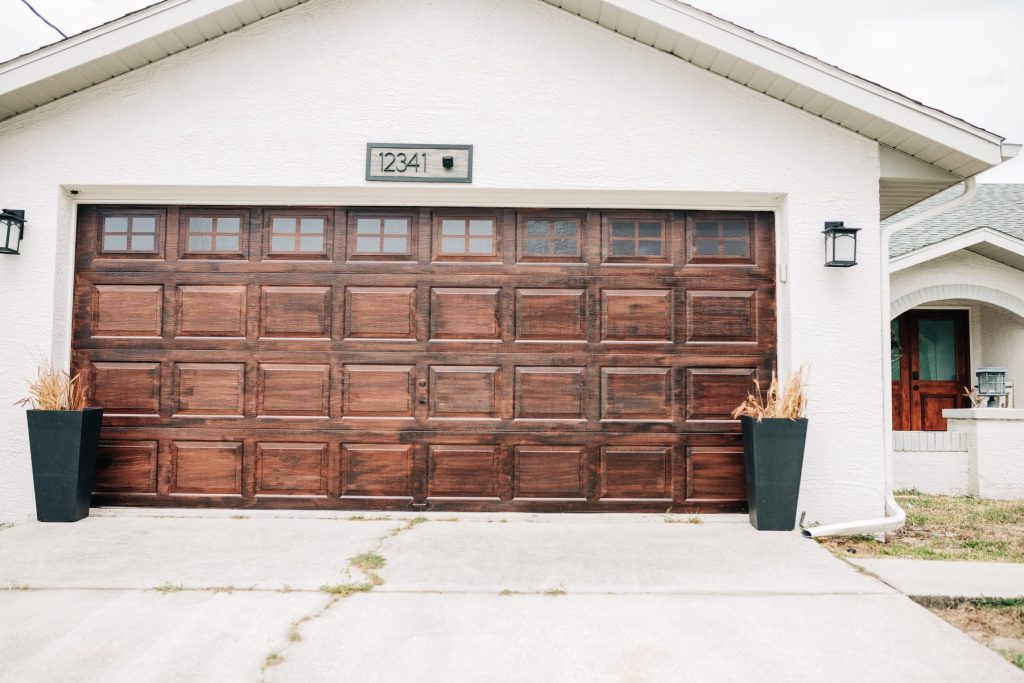
Step 5: Final Touches
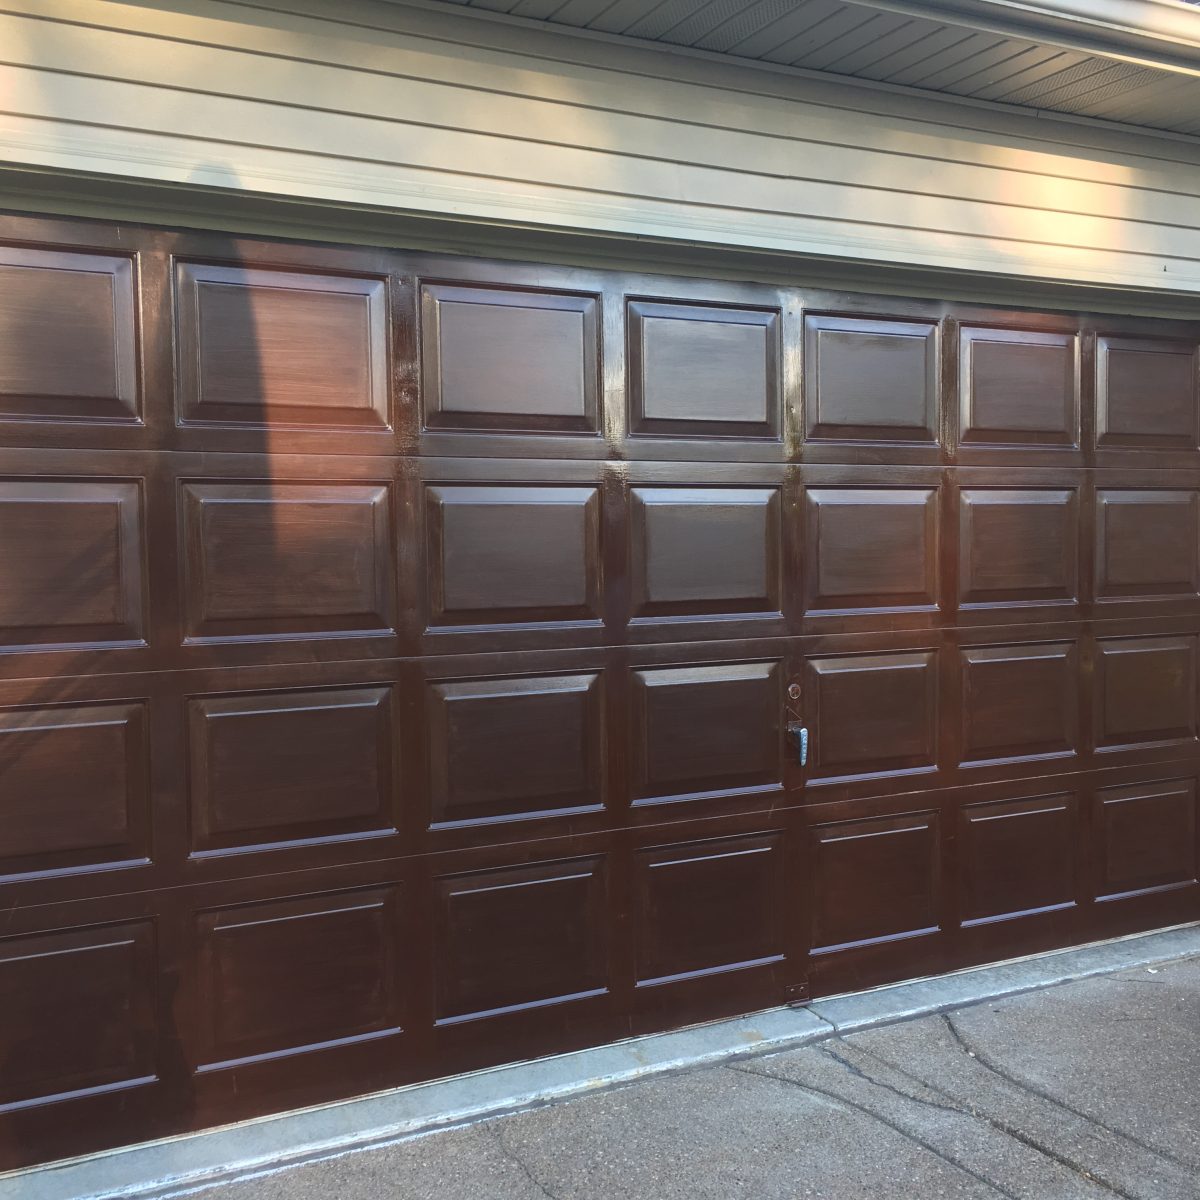
Now you are done with your DIY garage door stain project and giving your garage door a beautiful makeover. So, after your last coat of stain has dried, take a good look at your garage door.
Make sure the color and how it looks is just the way you want it. It’s like checking your artwork to see if it’s perfect. If you used painter’s tape to protect some areas, gently peel it off. Just be careful not to mess up the stained parts.
And here’s something extra you can do: if you want to, you can put on a clear topcoat or sealer. It’s like putting a clear shield over your stain to keep it safe and strong for a longer time. You can avoid this if you want to, but this will give your garage door stain look even more professional.
Safety Precautions to Keep in Mind
Staining can be fun, but you need to understand safety precautions and tips to remember while working.
- Work in a well-ventilated area, preferably outdoors or with open windows, to ensure good airflow and minimize inhalation of fumes from the stain.
- Wear appropriate safety gear, including safety glasses or goggles, to protect your eyes from splatters or dust.
- Keep the work area tidy and well-organized to reduce the risk of accidents and ensure easy movement during the staining process.
- Thoroughly read and follow the manufacturer’s instructions and safety recommendations provided on the gel stain product.
- Handle the gel stain containers carefully and securely close them when not in use to prevent spillage and evaporation.
- Ensure the ladder is placed on a stable surface and is at the correct angle for safe use.
- Keep children and pets away from the work area to prevent accidents and exposure to harmful materials.
- Dispose of used rags and materials soaked with stains safely and appropriately, following local regulations.
Related: 15 Backyard Deck Ideas on a Budget to Upgrade Your Deck’s Look
Conclusion
DIY projects are always fun to do, especially when you involve your close ones and give them a chance to blend with your ideation. Moreover, this garage door stain project is really a hit idea when it comes to giving a new makeover to your old garage entrance.
Along with this, staining has so many benefits, as it protects your door and also gives you a rich colored focal point for your home. Also, staining can be really peaceful when done creatively. Blending beautiful colors to make something beautiful out of it.
Also, always remember to protect yourself from stains or other equipment and follow all the safety mentioned above for a safe DIY project. So roll up your sleeves and give your garage door a beautiful makeover.
Frequently Asked Questions
Can I Use Gel Stain on Any Wood?
Yes, you can use gel stain on various types of wood. It works well on both soft and hardwoods, giving a rich finish. However, the final appearance may vary based on the type and condition of the wood.
Do I Need to Sand the Garage Door Before Applying Gel Stain?
Yes, it’s essential to sand the garage door before applying gel stain. Sanding helps smooth the surface, removes imperfections, and allows the stain to adhere evenly and create a beautiful finish.
How Many Coats of Gel Stain Should I Apply?
The number of coats depends on the desired color and the absorption of the wood. Typically, one to two coats of gel stain provides a good finish. If you desire a deeper color, you can apply additional coats, ensuring each coat is completely dry before adding another.
How Long Does It Take for Gel Stain to Dry on a Garage Door?
The drying time for gel stain can vary based on the brand and environmental conditions. Generally, gel stain dries within a few hours to a day. Follow the manufacturer’s instructions for specific drying times.
Can I Apply a Topcoat or Sealer Over the Gel Stain?
Yes, applying a clear topcoat or sealer is optional but recommended. It adds an extra layer of protection, enhances durability, and provides a glossy or matte finish, depending on the type of topcoat used.
Check This Next: How to Organize a Small Pantry: 25 Genius Ideas