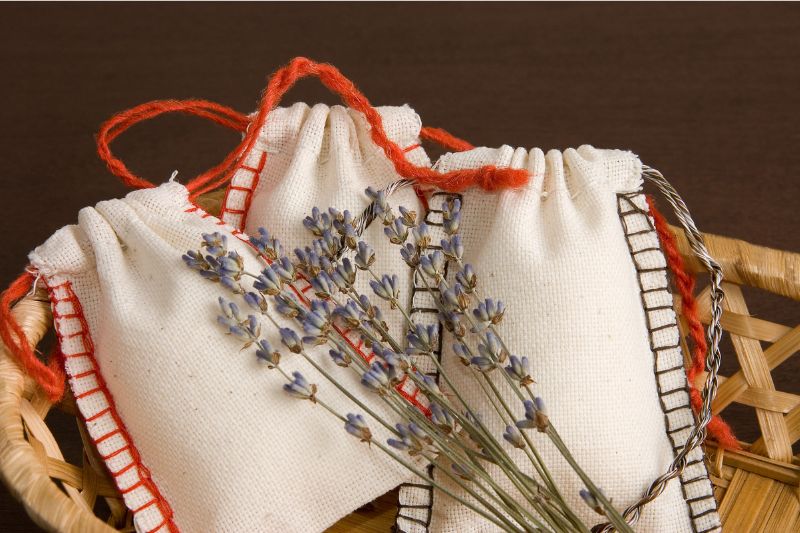
It is good for hygiene, keeps your environment fresh and fragrant, and puts you in a peaceful state of mind; plus, it can be DIYed! This isn’t some magical wand but rather a magical combination of buds and herbs packed in a little sachet, creating what we know as a “scented sachet.”
Scented sachet has a rich history. In earlier times, there weren’t air purifiers or room fragrances packed in tin boxes as we get today, and of course, people were much closer to nature. So, they created their version of room fragrance as a scented sachet.
However, even though the craft of creating scented sachets is pretty old. Lately, the commercialization of this age-old craft has raised its prices enough to consider it a luxury product alongside scented candles and aroma sticks.
In this blog, we will share some of the best DIY scented sachets and how you can make one for yourself.
Similar Post: 21 Inexpensive Raised Garden Bed Ideas for Your Courtyard
Benefits of DIY Scented Sachet
1. Good for Mood and Aura
This is definitely the first cause that anyone chooses scented sachets or basically any aromatic product. The natural, earthy aromas from that little pocket activate a specific gland in your brain that makes it lull into a state of calmness.
You must have experienced this also. For instance, when you walk into a Buddhist temple church or even walk past the aroma section of a departmental store, you suddenly feel a sense of calmness and get attracted to the smell.
That is what aromas do, and having those aromas in sachets ensures long-lasting fragrance.
2. Completely Natural & Eco-Friendly
As we briefly mentioned above, scented sachets are made using herbs and buds of different kinds. One big reason why they are so much preferred over any other kind of scented product is this.
Being made 100% out of natural herbs and spices is what makes them the healthiest decor element one can have in their home.
Also, if you or your family member is allergic to chemical products, then these naturally formed scented sachets can be your best call.
3. Customisable & Versatile
We understand that fragrance is a very personal aspect. Everyone has a particular taste when it comes to choosing fragrances. One of the many benefits of scented sachets is that you don’t get only a handful of fragrance options to choose from. DIY scented sachets allow you to choose your favorite scents and customize your sachet accordingly.
Also Read: 21 Cheap Patio Paver Ideas to Elevate Your Outdoor Space
4. Offers Aromatherapy
Now, you must be wondering what the difference is between having a good mood/aura and getting aromatherapy. So, honestly, the base benefit of both concepts is uplifting the mood and reducing stress. But the difference between having a better aura and aromatherapy is conscious.
While your mood may or may not get elevated on its own, aromatherapy is a focused effort to give yourself a chance at feeling better.
It involves sitting in a room with a scented sachet or even candles and just focusing on your breathing and how the scent from the sachet is reaching your nerve senses. It can be considered a form of meditation.
5. Cost-Effective
Well, this isn’t exactly about scented sachet but most definitely about DIY scented sachet. After all, when you are hand-picking the substances and ingredients to go into the sachet and crafting your sachet, it includes little to no expense, which makes it multiple times cheaper than any other aroma products available in the market.
So, if you want a better aura, a cleaner environment, and a cheap, scented sachet, this is your way to go.
6. Keeps Environment Clean and Allergen-Free
Now, many people aren’t aware of this particular benefit of the scented sachet. The common norm suggests that scented sachets are only good as an aromatic agent. However, what goes unnoticed is that these sachets, being made out of porous materials and fabrics, also work as allergen filters.
The sachet fabric traps the pollens, danders, and other allergens in your home environment.
After all, healthy and clean indoor air is as necessary as the one outside. Also, the essential oils used in sachets prevent the growth of bacteria and fungi over your home products and furniture. And, of course, no allergen means no allergies. Isn’t that great?
Types of Scented Sachets
Now, let’s dive into the real talk. The different types of scented sachet and how you can make them. So when we say sachet, which shape and type comes to your mind? Is it a frugal shape, a regular little bag, an envelope, or a sachet with no sew marks?
Well, the thing is, whichever size and shape you imagined the sachet to be in is a type of sachet. Let’s find out.
1. Traditional Sachet
This type of sachet is the OG of all. It has a versatile, vintage charm to it. Traditional scented sachet comes in fabric options of cotton, linen, and organza, which allow easy air passage in and out of the sachet. Plus, these fabrics have an elegance of their own.
The traditional sachet does not bind the user into any specific shape; they can be cut and sewn into whichever shape they prefer. For a more aesthetic experience, you can match the fabric, color, and pattern of the sachet to your room decor.
This will make the scented sachet a part of your decor without interrupting the design theme.
2. No-Sew Sachet
Do you not have much time on hand to go through the longer DIY process of cutting and sewing? No worries! This type of scented sachet serves the purpose, as it doesn’t involve sewing machines to lock the sachet.
The techniques involved in this type of scented sachet include tying knots or using fabric glues that bind the fabric and secure the ingredients inside.
Especially if you plan on performing this DIY activity with your children, this type of scented sachet will be the most appropriate choice to ensure the safety of your kids by preventing them from using scissors and needles.
See More: Top 9 Brick Fire Pit DIY Designs for Your Backyard
3. Envelope Sachet
As the name suggests, this type of scented sachet comes in the shape of an envelope. Giving it a cute look and one of the good options for gifting purposes. It is made by cutting a rectangular piece of fabric in half and securing the edges with sewing or glue.
Other than as a gifting idea, the flattened shape of this sachet makes it best to put in a drawer, under a pile of clothes, or even in luggage to ensure a fresh smell throughout.
So basically, the scented sachet is compact and thus an excellent choice for you if your focus is convenience.
4. Frugal Sachet
Frugal sachet is the quickest and cheapest of all DIY scented sachet types. All you need to craft this DIY scented sachet is any piece of old cloth or sock; make sure it’s well-washed and not too worn out. These types of sachet are the most sustainable and connected to nature. So, suppose you are really into raw art.
In that case, the frugal sachet gives you ample opportunity as all you have to do to make this type of sachet is pick the ingredients and old cloth, put them all in the cloth piece, and lock using a tread or tie; it doesn’t have a particular shape just like traditional sachet.
5. Requirement-Specific Sachets
Not all of us use scented sachets just for the aromatic bliss; some even use them for their hygiene and healing powers. And what makes the difference? The ingredients you put inside.
For instance, if you want a sachet to repel moths in your cupboard, you should opt for a cedar chips sachet.
Similarly, for a good night’s sleep, opt for a lavender sachet. And believe it or not, the usage of sachets is unlimited. From mental health to cleaning indoors, sachets help in them all.
How to Make Your DIY Scented Sachet: Step-by-Step Guide
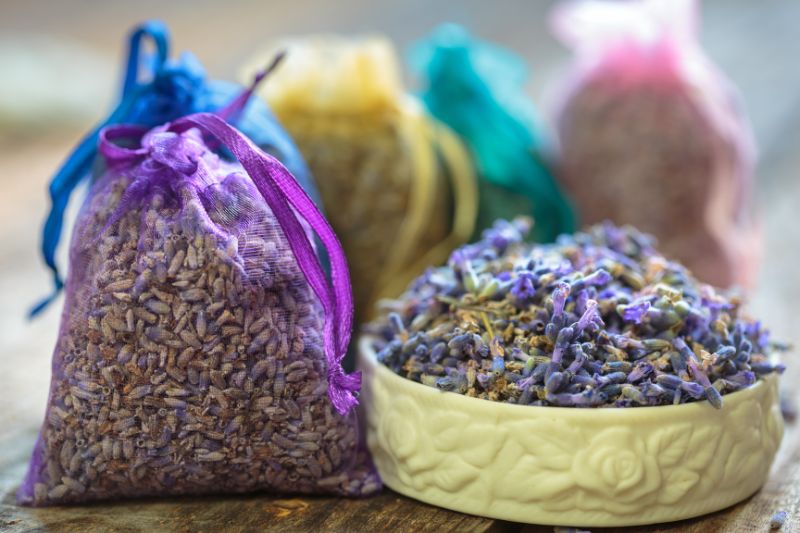
First things first, gather all the necessary materials. Now, while the aroma ingredients, i.e., herbs and spices, will depend on whatever your purpose of making the sachet is, the materials for the covering or sachet will change as per the type of scented sachet you plan on making.
For instance, if you want an envelope sachet, it will require sewing needle and thread, while if you plan on a frugal sachet, that reduces your material in use. Nonetheless, we are providing a list of materials required in making traditional DIY scented sachet.
- The fabric of the sachet: It could be cotton, linen, organza, or any other fabric, depending upon your desired aesthetic. But it must be breathable.
- Uncooked Rice: this is extremely crucial to the whole process of making scented sachets. It is one of the foundational materials you will require.
- Filling material: this depends on the fragrance you are aiming at. Different types of ingredients include dried flowers, herbs, botanical elements, and even some spices.
- Essential oils: Oils are a great way to hold and preserve the aroma for longer. It doesn’t let the filling dry up and adds to the scent of the sachet.
- Needle, thread, and scissors: These tools are only required when you are looking at certain types of scented sachet that require proper binding.
- Ribbon or string: For those who are not planning on crafting a sewed-up scented sachet, the other alternative is tying up the sachet with ribbon or thread. This is also helpful when you want to keep changing the filling of your scented sachet.
The Process of Making Scented Sachets
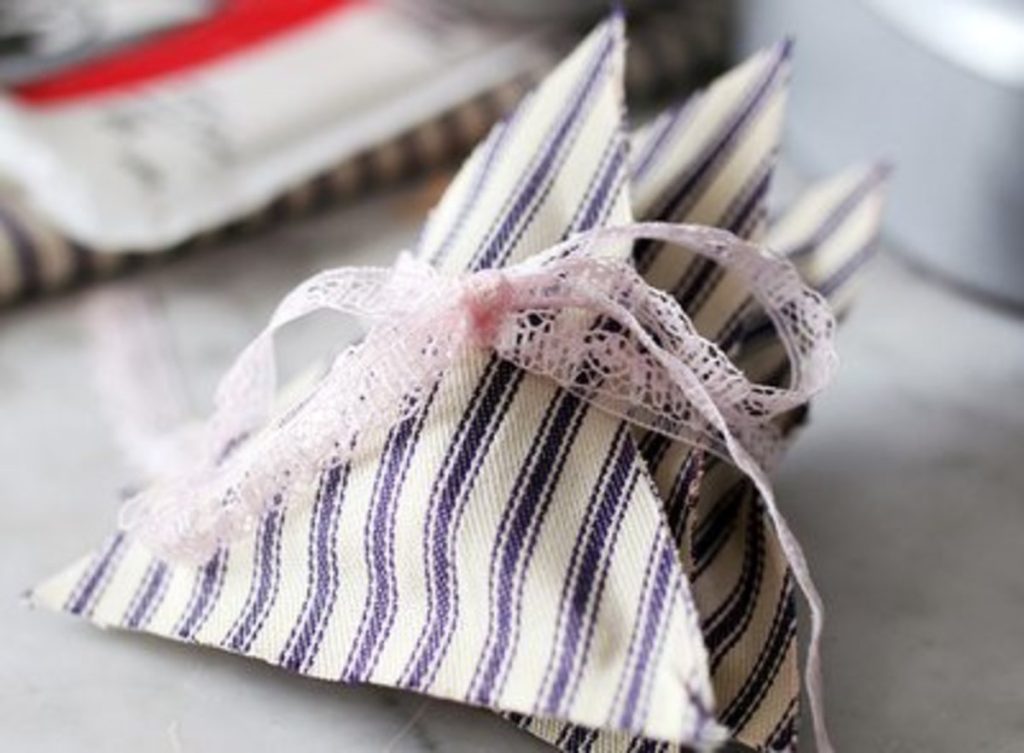
- Step 1: Cut your selected fabric into a square piece of 5×5 inches. This is done to ensure that whenever you have to bind and secure the sachet, it becomes easier.
- Step 2: Take a bowl and put uncooked rice in it. Add a few drops of essential oils. Now, add the aromatic herbs and ingredients as per your scent choice.
- Step 3: Blend all the ingredients well.
- Step 4: Take the square piece of cloth and put in some rice and herbs mixture in the center. Ensure the mixture is placed in the center only to avoid spillage.
- Step 5: Now, if you wish to make a frugal or non-sewn scented sachet, gather up the piece of cloth along with the fabrics and tie the ends together using a tie, rubber band, thread, or ribbon. Secure it tight!
Related: How to Make a DIY Lavender Spray
However, if you wish to create a scented sachet bag using threads and needles. You need to cut two identical squares of fabric. The second step after cutting the pieces of cloth would be putting both pieces together and sewing and securing from three sides, leaving one end open.
To fill the ingredients. Then, once you are done with filling in the mixture, carefully sew the final edge using thread and needle. Also, make sure the lock is secure.
Some Best Fragrance Combinations to Try
As we move closer to the conclusion of our discussion, let us suggest some of the most loved aromas by scented sachet enthusiasts.
- Lavender: An excellent choice for a refreshing yet elegant aroma in your living space
- Rose: If you are someone who is into sweet, romantic fragrances.
- Herbal Blend: Need that nature’s magic in your home interior? Herbal scents are your way to go; they have a mix of woody, spice, and herbs mixture. And offer great aromatherapy.
- Cedarwood: One of the most loved botanical scents. Creates an earthy and woody aura in your bedroom.
- Chamomile: This is the perfect aroma choice for meditation rooms and even bedrooms, as chamomile has healing properties.
But hey! The list doesn’t end here. Floral, fruity, spice, or any other, whichever suits your taste.
Conclusion
Before ending the discussion here, here are a few quick tips regarding maintaining your scented sachet.
The primary advice here would be to store your scented sachet in a dry and cool place. To ensure that the herbs and mixture inside don’t go bad. Make it a habit to rotate and squeeze the sachet to refresh the herbs’ scent.
Do not keep with other sachets of different scents. Avoid contact with pets and children. So yes, if you keep these few pointers in mind, you will surely have plenty of fun and immense calmness with these DIY scented sachets.
Check This Next: How to Make DIY Pinch Pleat Curtains


