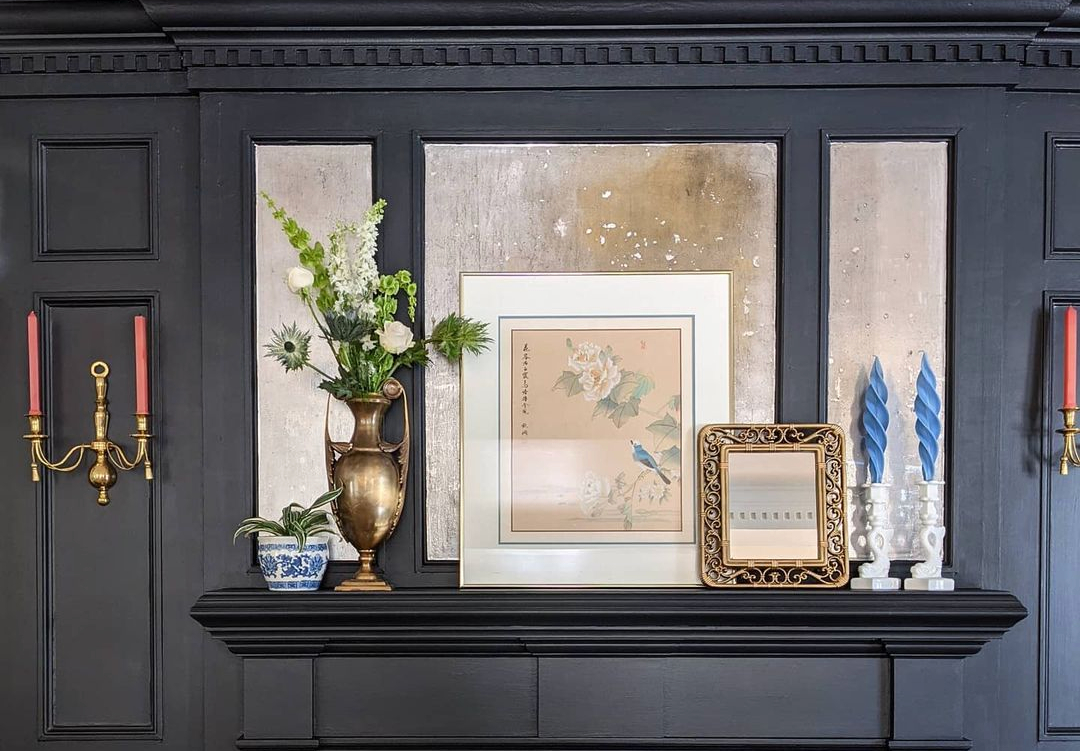
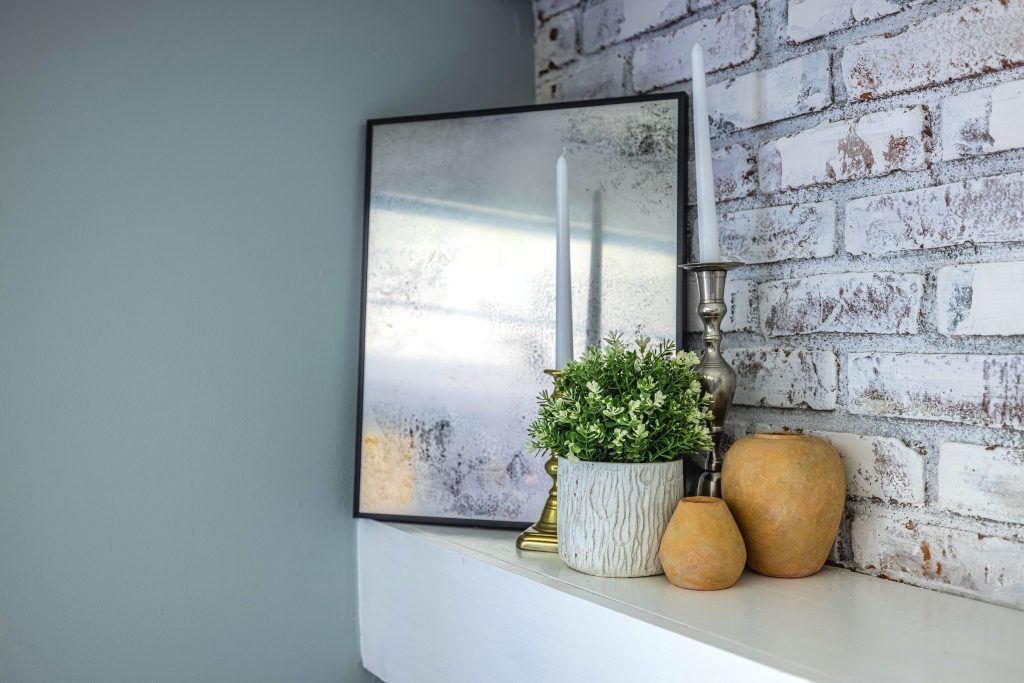
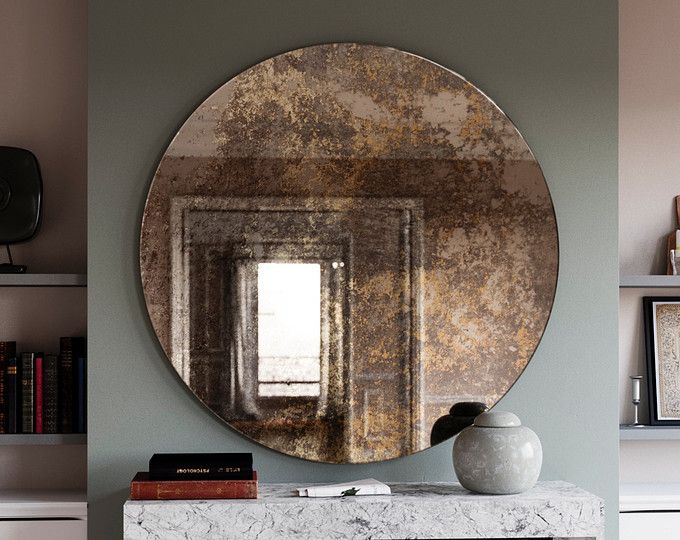
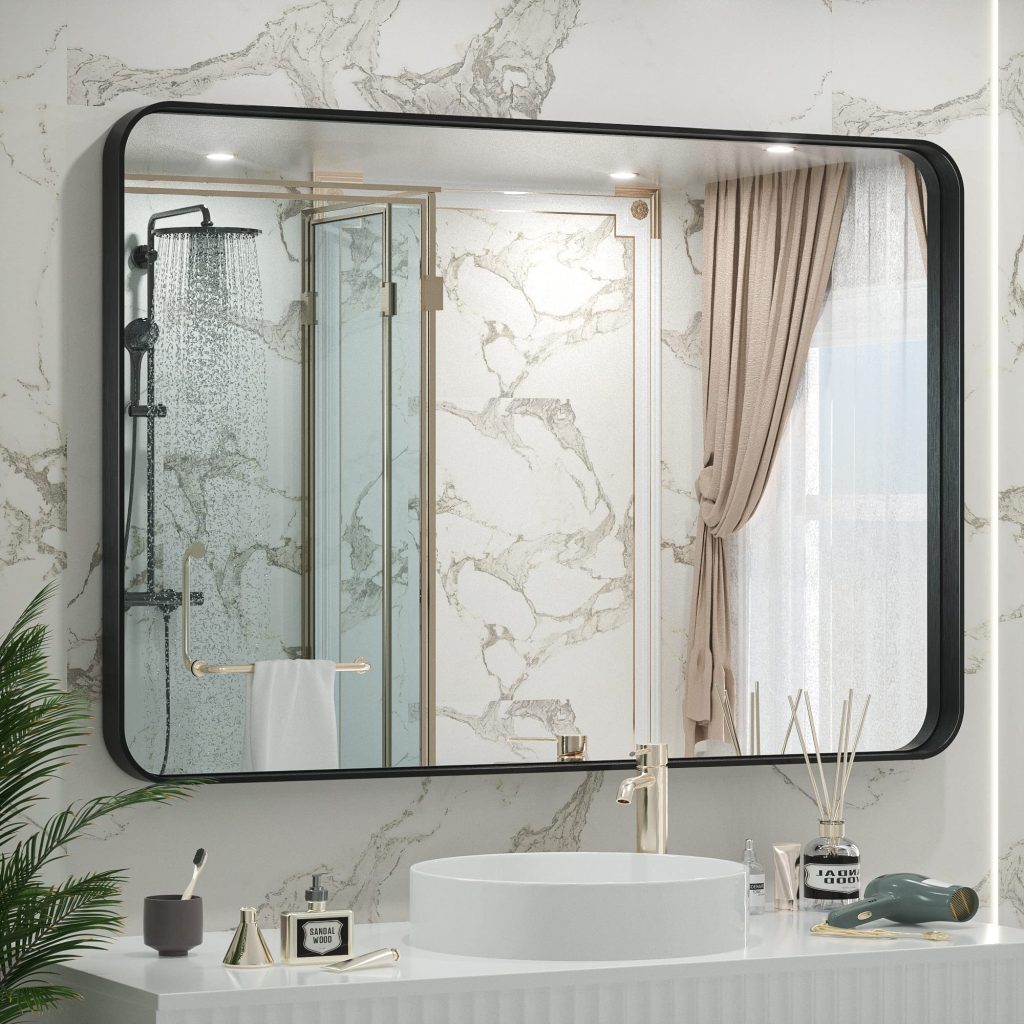
Antiqued mirrors give a vintage appeal to the room they are placed in. These mirrors display the art through time and create a sense of nostalgia. You may dream of owning an authentic antique mirror at your place, but there are better and easier ways to get a piece of history into your home – using an antiqued mirror DIY project.
In this guide, we will help you explore the DIY world and make sure you have every tool and knowledge that is required to create these art pieces.
Whether you are experienced with DIY or a beginner, we will provide stepwise tips to create a mirror that will enhance the elegance of your place. Create a one-of-a-kind mirror that reflects your personality.
Explore the art of antiqued mirror DIY that allows you to experience the satisfaction of making your piece of art.
Understanding Antiqued Mirrors
Antiqued mirrors are a piece of art that explores and exudes the elegance of history. To start the journey of proceeding with a DIY antiqued mirror project, it is important to understand the mirrors and techniques that you can use to create them.
These are also known as distressed mirrors that are modified to give a vintage look. The difference between normal and antiqued mirrors is that the antiqued mirrors do not reflect images clearly.
They are designed with minor imperfections like scars and streaks for a distorted reflection. These imperfections are an ode to the natural wear and tear that a vintage mirror may have. These also create a charming appearance.
Few Antiquing Techniques and Ideas for DIY Mirror
There are many techniques that you can use to create your very own antiqued mirror. Some of the most popular antiqued mirror DIY techniques are as follows:
1. Chemical Distressing
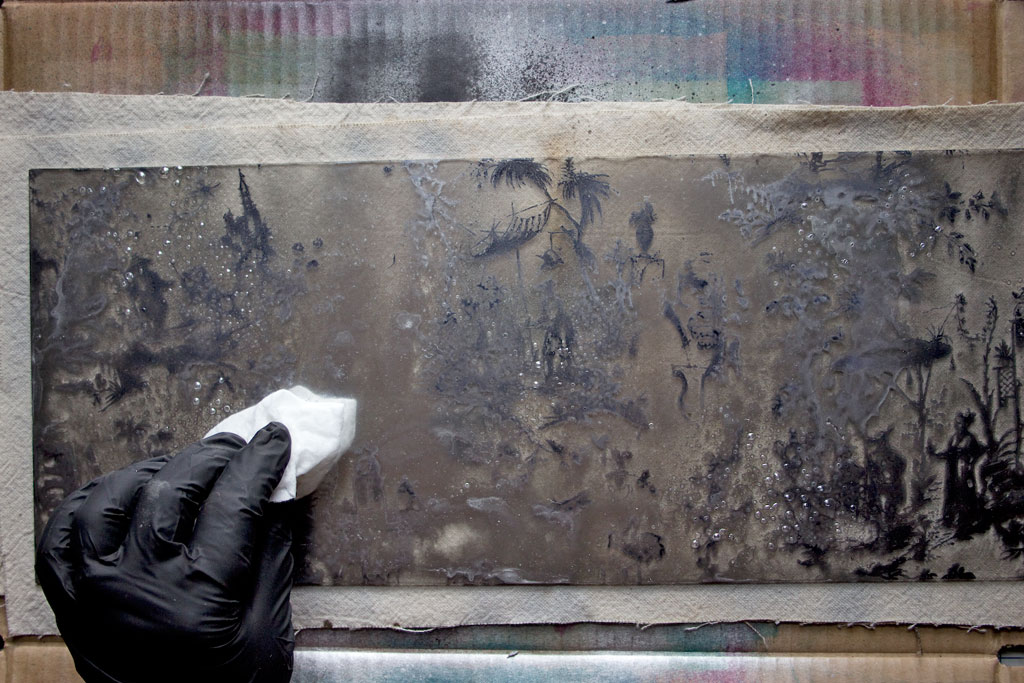
Chemical distressing is a popular technique that involves adding chemicals to the rear surface of the mirror to induce corrosion. Chemicals such as muriatic acid, vinegar, or ammonia react with the reflective backing to create blotches and give the mirror a weathered look.
This technique can directly mimic the natural aging of an antique mirror, resulting in a classic look. It is important to take care of your hands and surroundings while following proper safety protocols.
Similar Post: Top 15 Anthropologie c Dupes (Gleaming Primrose)
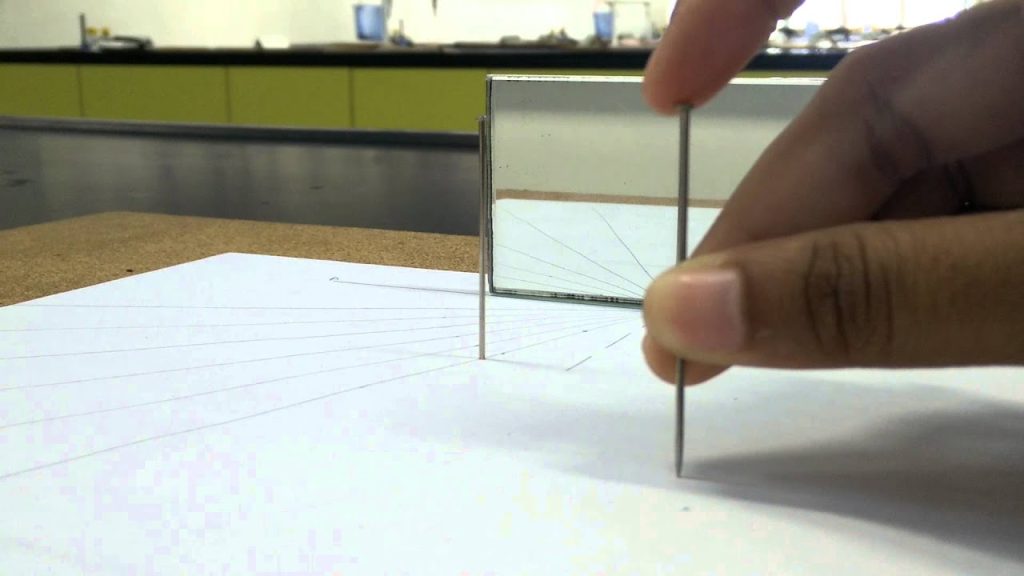
2. Silvering Removal
This technique involves creating an antiqued mirror by removing the silver coating from the back of a mirror at selective points. The removed part allows a partial passthrough of light, which gives it a vintage effect.
You can create your design and pattern using this technique. You can also combine this technique with others to enhance the overall antique effect.
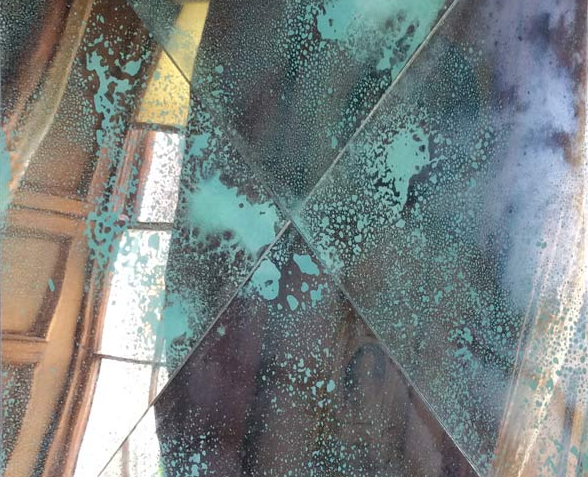
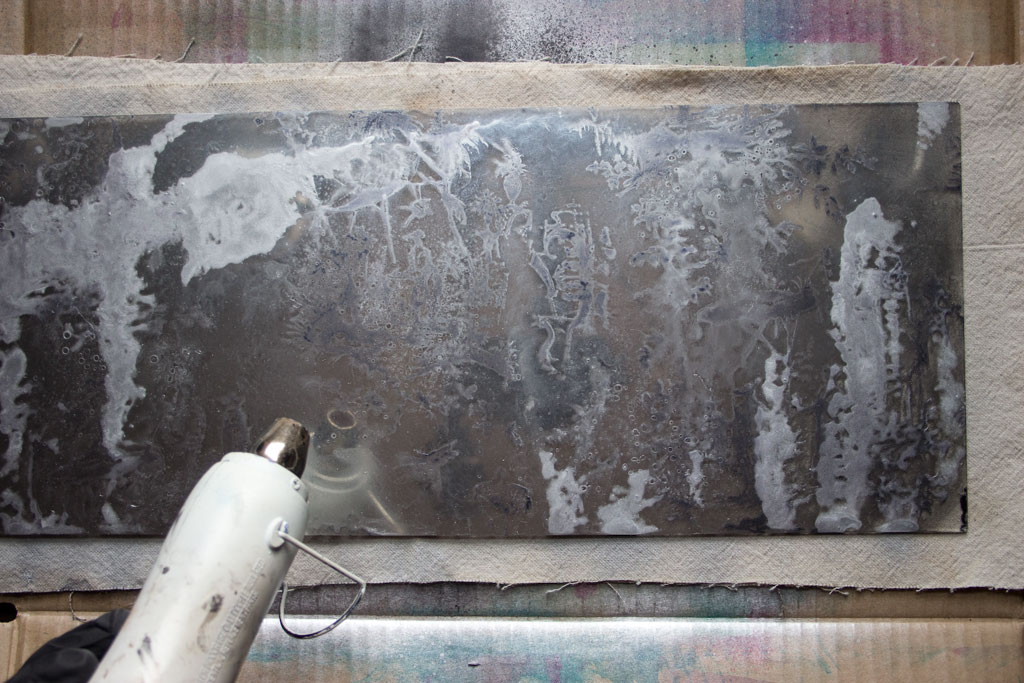
3. Smoke and Patina
Smoke and Patina techniques are used to distress the mirrors while adding character to the mirror’s look. With smoking, you apply a layer of soot to the surface, which darkens it and creates an aged effect.
For patina, chemicals are used to oxidize the mirror’s surface, which results in a green tint that resembles antique mirrors. These give a worn look to the mirrors. These techniques can also be used together to enhance the overall vintage effect.
4. Antique Mirror Spray Paint
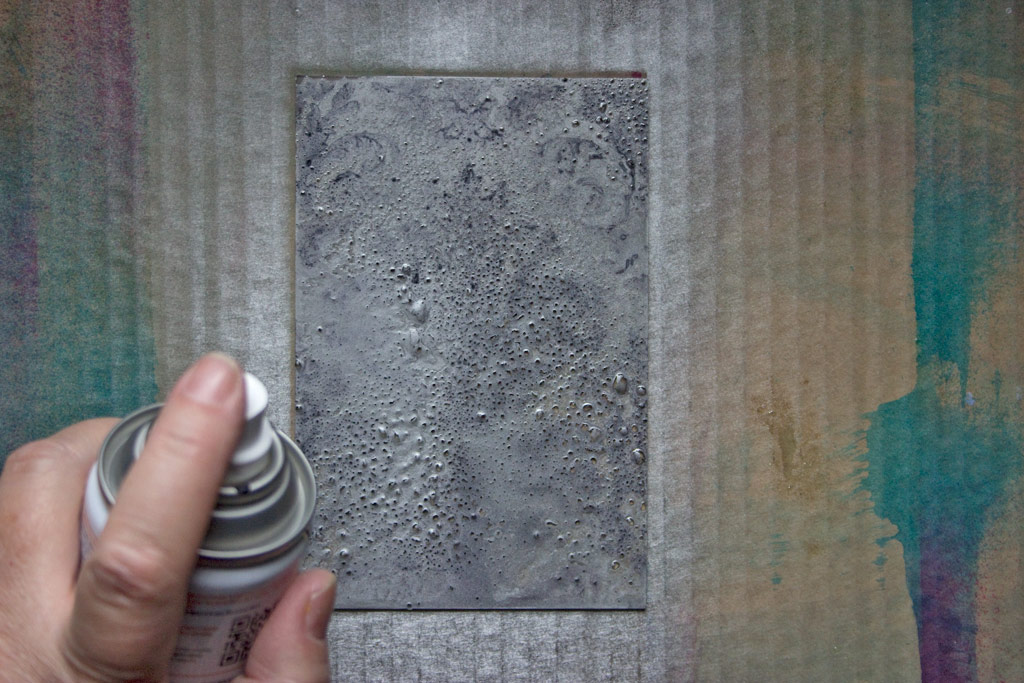
This spray paint is an easy solution to get the antiqued mirror look. This paint is designed to create the aged glass look easily. This paint creates a semi-transparent layer on the back of the mirror to give a distressed look to the glass.
This is an easy way to create a vintage look, even for beginner DIY enthusiasts. The quick dry design provides a quick and even finish for the mirrors.
5. Layering Techniques
This technique combines multiple antiquing methods to create unique effects. Chemical distressing, patina application, silvering removal, and more techniques can be combined and used to give complex designs to the mirrors.
This allows you to use various combinations for a unique antique look that enhances the ambiance of your room.
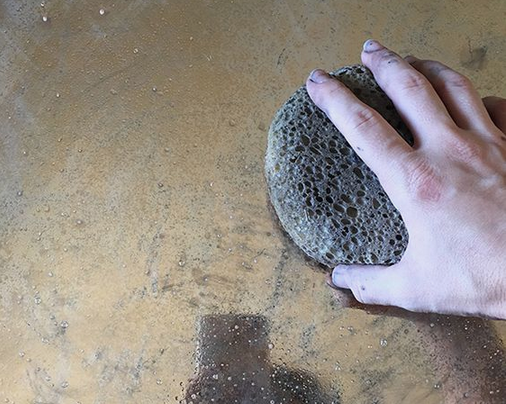
6. Object Distressing
This is one of the most common techniques that is used to create a distressed mirror. This includes using chains, brushes, and other materials to create various patterns on the mirror. Techniques such as rubbing, tapping, or pressing can be used to create the weathered pattern.
This technique allows you to experiment with various designs that display your personality.
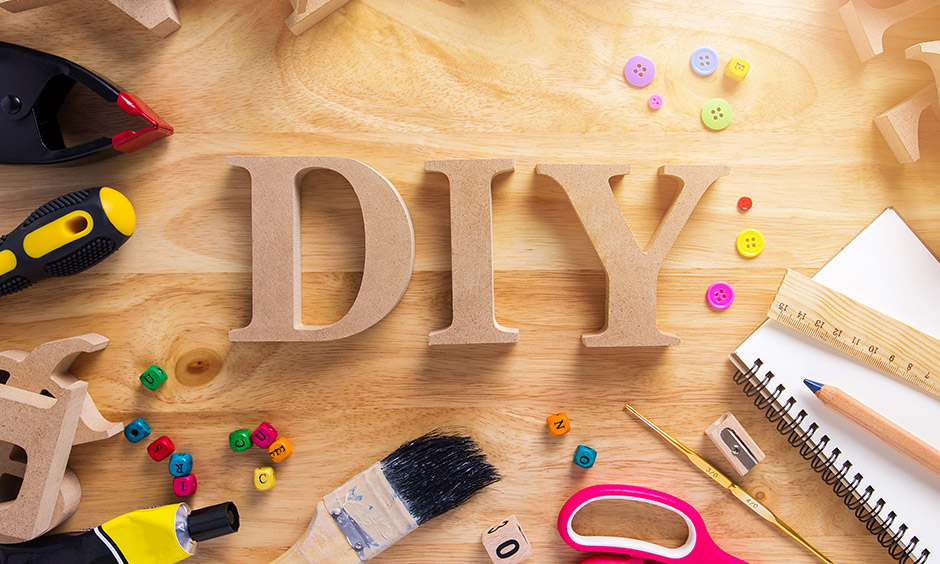
Gathering the Materials for DIY Mirror
You need your tools to begin this antiqued mirror DIY project. Gathering and organizing them will help you with a smooth crafting experience. By gathering these materials and prioritizing your safety, you can create a process that allows you to achieve the desired effect.
1. Mirrors and Glass
A high-quality mirror or glass pane is the most important part of your arsenal. Make sure it is clean, and it would be beneficial if it does not have any scratches; however, since you will create a few distressing yourself, this part would be optional.
2. Safety Gear
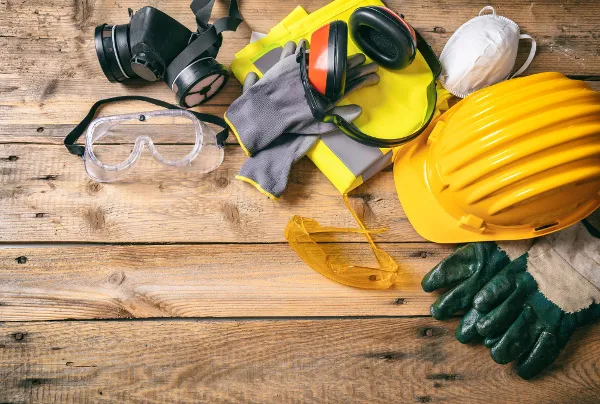
Safety should be kept as your top priority as you will be using various chemicals and materials that may be harmful or dangerous to use without proper precautions. Gear like goggles and gloves are important to protect your eyes and hands.
3. Chemicals and Solutions
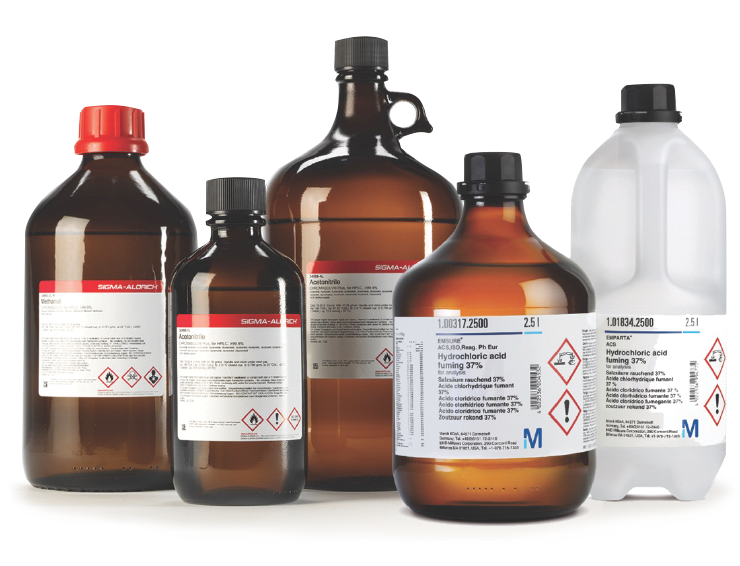
You will need multiple chemicals and solutions to create your own distressed and antiqued mirror. Muriatic acid, vinegar, ammonia, and other antiquing solutions are required to create the perfect look. Necessary quantities are required, and following safety guidelines is important as well.
4. Spray Paint (Antique Mirror Spray Paint Technique)
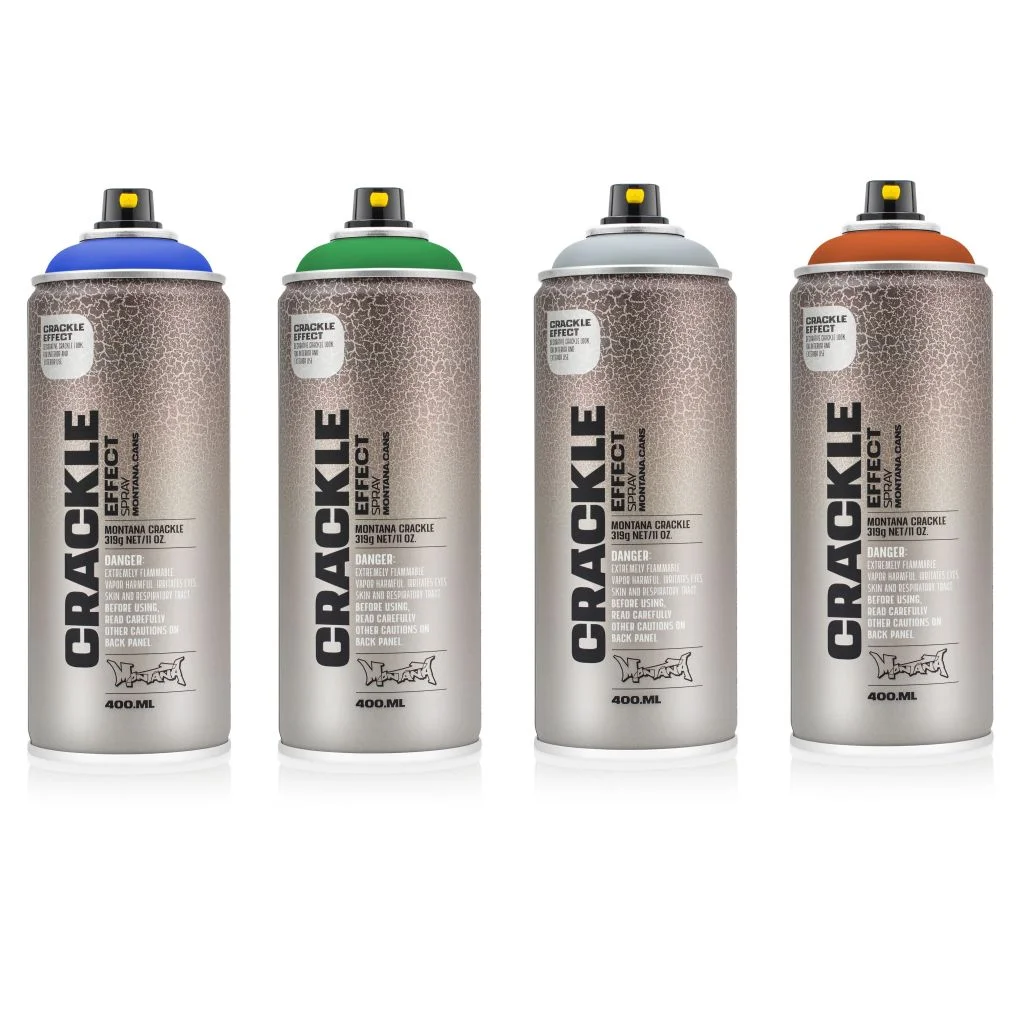
If you want to create an antiqued mirror DIY project using the spray paint technique, you will require appropriate spray paints and finishes to achieve the desired effect. Make sure that you have multiple cans so that you can complete the project easily.
Also Read: Efficient Techniques for Spray Painting Picture Frames
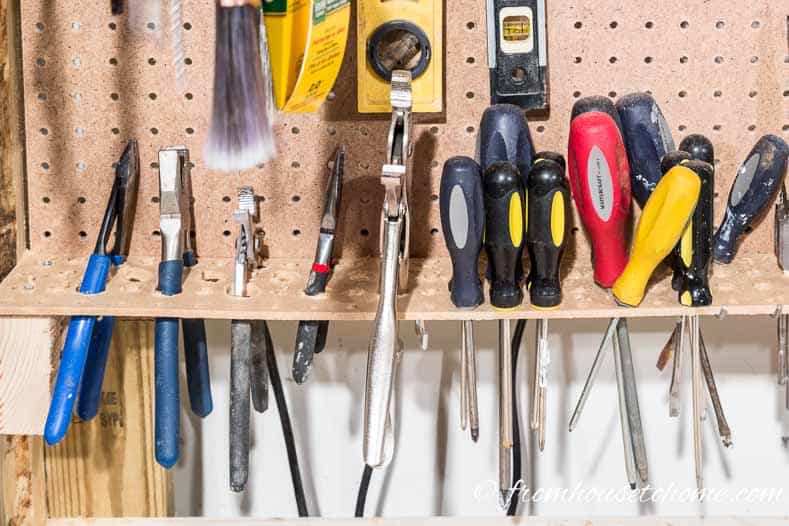
5. Brushes and Tools
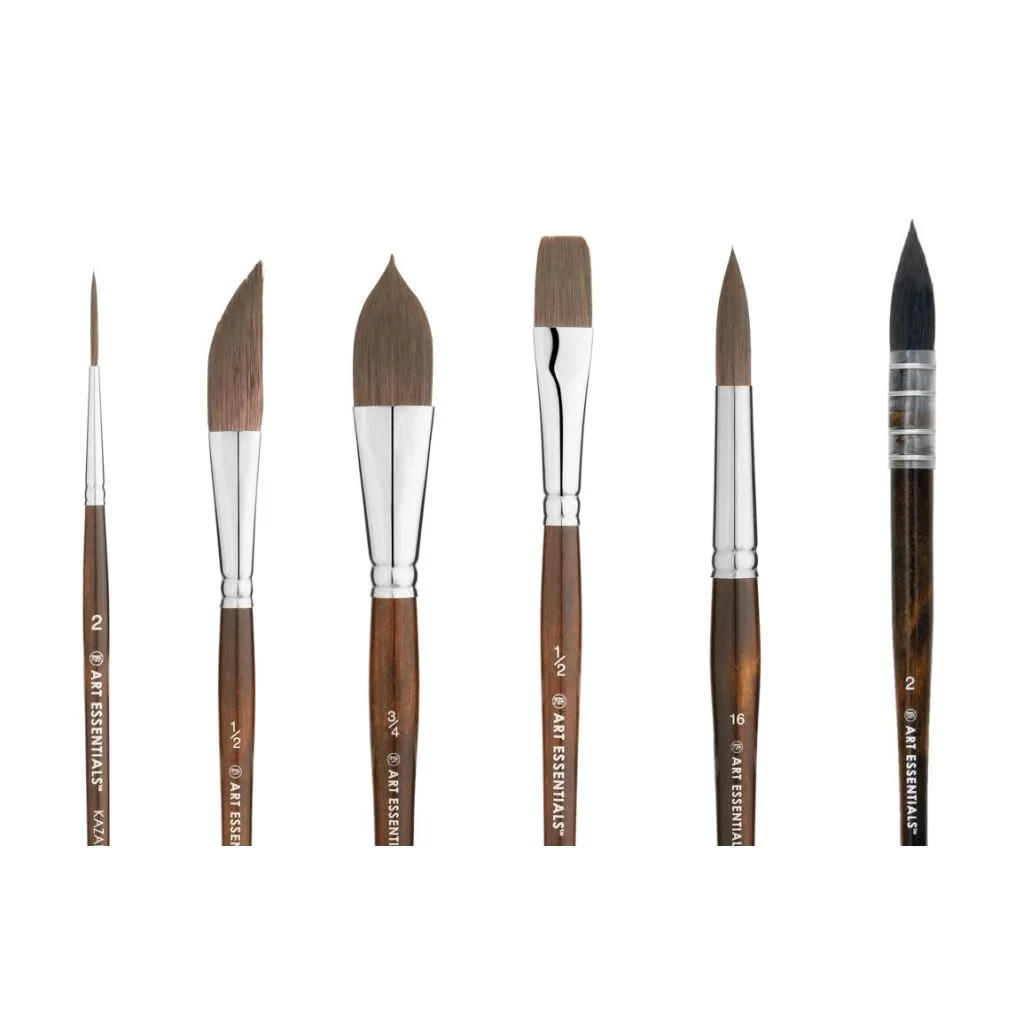
Brushes with various bristle types are important to create and use a distressed antiqued mirror. These tools will be important to apply solutions on the surface to achieve the desired effect. You will also need scrapers, sandpaper, and steel wool to combine multiple techniques.
6. Containers and Applicators
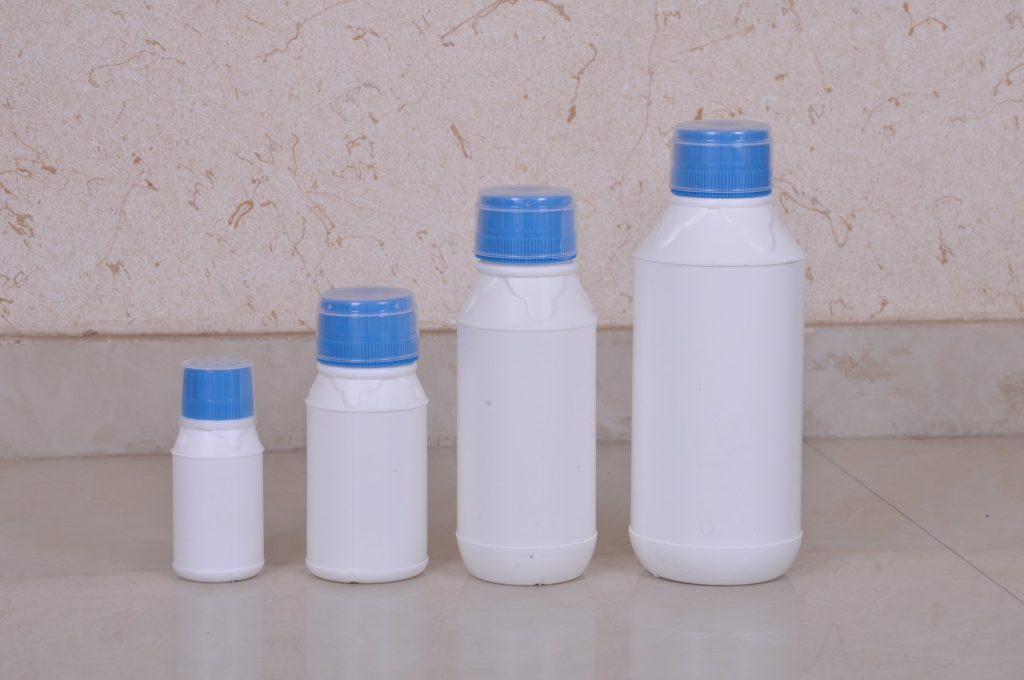
Containers will allow you to mix the chemicals and other solutions to create the perfect distressing for your mirror. Applicators like brushes, sponges, and spray bottles can be used for the perfect application.
7. Rags, Paper Towels and Disposable PPE Kits
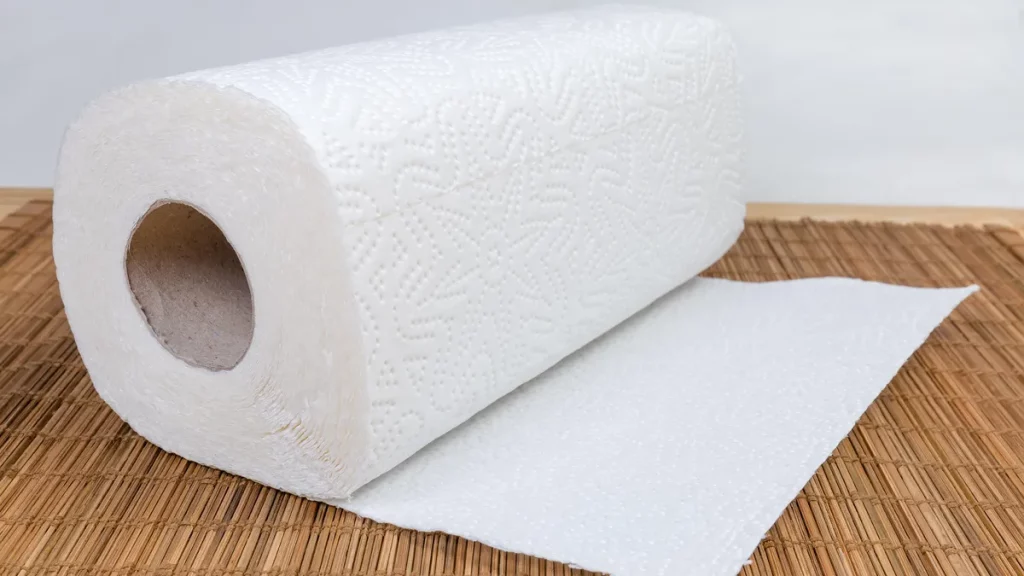
Clean paper towels and rags are handy to keep the surface and workspace clean. Additionally, you would also require a PPE kit with appropriate disposal techniques to keep the surroundings safe.
8. Safety Precautions
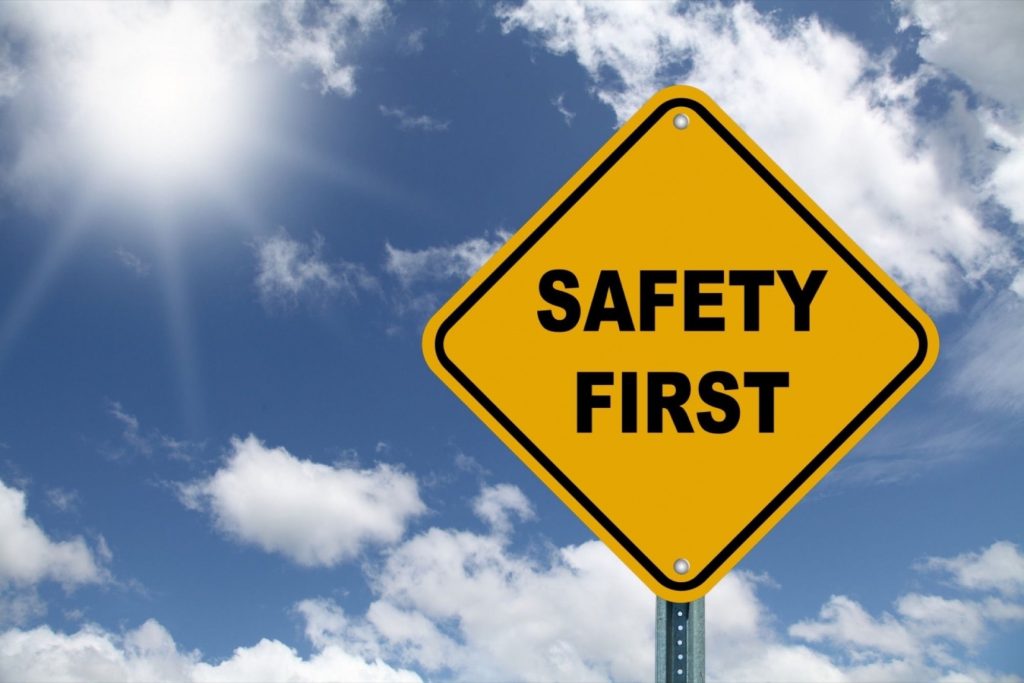
Safety precautions are important in beginning your antiqued mirror DIY project. Equipment like fire extinguishers, first-aid kits, and an emergency eye wash station are important to create a safe environment while working on your project.
Extinguishers and first-aid kits are important while working with chemicals.
9. Ventilation and Workspace
Ventilation is important when you are working with chemicals. You should create your working station in a well-ventilated space. Cover the surface with plastic for protection against spills.
See More: How to Make a DIY Lavender Spray
Preparing the Workspace for DIY Mirror
1. Protection
A plastic cloth can help protect the surface of the workspace from accidental spills and damage. Wearing protective gear like glasses and gloves can also help enhance your protection while working on the distressed mirror DIY project.
2. Organizing Tools
It is important to keep your tools organized while working on your DIY project. This includes brushes, applicators, mixing containers, and chemicals.
3. Lighting
The workspace lighting is an important aspect in reducing the chances of accidents. It is important to look at what you are making and what you plan to make.
4. Instructions
It is important to read about the instructions for the antiqued mirror DIY technique that you choose to understand the steps and safety instructions.
Step-by-Step Guide for your Antiqued Mirror DIY Guide
1. Choosing the Technique

The first step is to choose a technique that aligns with your idea of the mirror. There are multiple techniques that you can use to make your very own antiqued mirror, like silvering removal, spray paint, layering, and other techniques mentioned above.
Each technique gives a unique look to the mirror, and combining such techniques can enhance the overall appeal of the mirror.
2. Gathering Materials
It is important to gather the necessary materials to begin your antiqued mirror DIY project. An appropriate-sized glass pane is the first thing that you will require. Be sure to gather the required safety materials, such as goggles and gloves, to protect yourself while working.
Chemicals are required for various techniques. You need brushes and applicators to apply the chemicals. First aid kits and fire extinguishers are important to enhance your protection while working.
3. Preparing the Workspace
Create a well-ventilated area while working, preferably outdoors. Keep a drop cloth to keep the surface tidy and organize your tools conveniently. Wear protective gear before beginning the antiqued mirror DIY project.
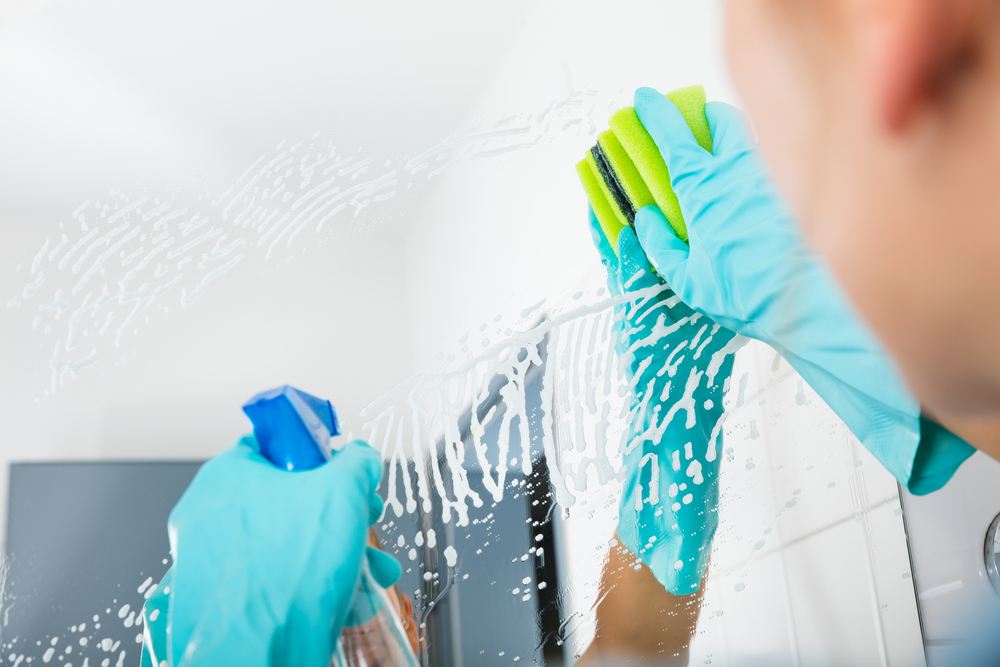
4. Preparing the Mirror
Clean the mirror or pane of dirt, fingerprints, and dust to apply the chosen antiqued technique easily using paper towels and cloth.
5. Application of the Chosen Technique
Different techniques require different steps to be followed for the antiqued mirror DIY technique.
- Chemical Distressing: Using proper brushes and applicator, gently apply the chemicals (vinegar, ammonia, or muriatic acid) on the back side of the mirror. Follow the safety guidelines to create the perfect effect.
- Silvering Removal: Using sandpaper and other tools, you can gently scrape the silver covering the back of the mirror to create your choice of distressed effect.
- Antique Mirror Spray Paint: Using the antique mirror spray paint of your choice, evenly spray the back of the mirror while following the instructions on the can. Apply multiple coats if required.
- Layering Techniques: You can use the abovementioned techniques to create a pattern of your choice—experiment according to your ideas.
6. Control and Experiment
It is important to control the level of distress that you have planned for the mirror. Experiment with various methods and adjust the intensity of the distressing to enhance the vintage look.
7. Drying and Reactions
As you continue to apply the techniques, it is important to let the initial coat dry to reduce the chances of reactions. The time to dry the coat may vary according to the technique used.
8. Sealing and Protection
It is important to keep your antiqued mirror DIY project safe for a long time. You can use a sealant or varnish to seal the look. Since the mirror will be exposed to moisture, it is important to clean it regularly and use appropriate sealant while following the manufacturer’s instructions.
Related: 15 Stunning Modern Coastal Living Room Designs to Blow Your Mind
9. Adjustment
Imperfections that you may not have imagined may help in enhancing the look of the mirror. However, if you find any issues, you may have to reapply or touch up the technique for that particular area.
Caring for The Antiqued Mirror
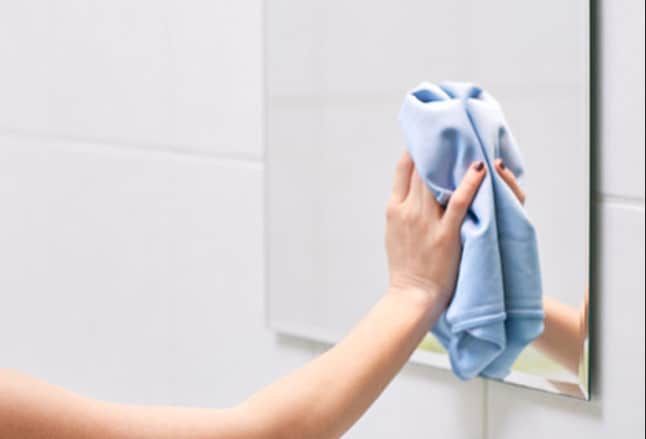
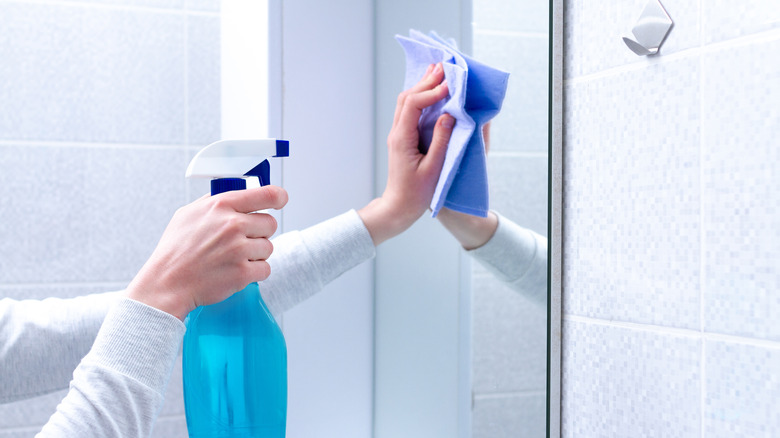
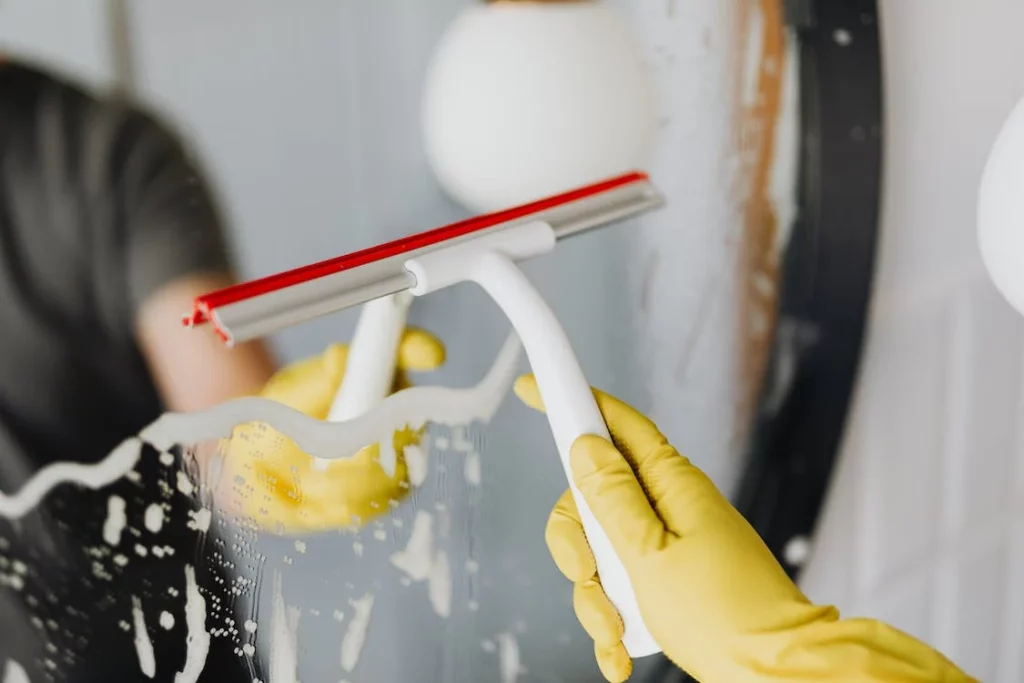
1. Cleaning
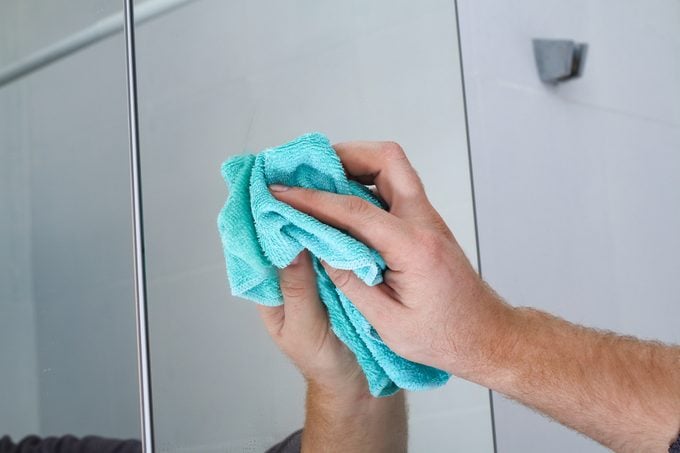
To clean the antiqued mirror DIY project after the distressing has been completed, you can use a lint-free cloth to remove the dust particles without residue. Do not use harsh cleaners as they might damage the mirror.
2. Handle with Care
The mirror is delicate, so it is important to handle it with care to minimize the chances of scratches and chips. Lifting and positioning techniques are important to reduce contact with the distressed area.
3. Moisture Avoidance
Mirror should be kept away from places with excess moisture to prevent the chemicals from reacting with it. This will ensure that the antiqued look remains the same for longer periods.
Conclusion
Antiqued mirrors are a timeless piece and a beautiful addition to your home. The vintage design and sophisticated looks give an elegant look to wherever they are placed.
We hope that our little guide will help you choose the perfect Antiqued Mirror DIY technique that allows you to craft the perfect addition to your living space. Whether you choose a chemical-based distressed look or a scratched look using various tools, these steps will help you create the perfect-looking mirror.
With the proper caring techniques, you can keep the vintage mirror looking pristine for the time to come. The imperfections showcase the blend of history and your vision.
Let the DIY mirror be the focal point of your home decor.
Check This Next: 9 Free DIY Birdhouse Plans You Can Build Under $5