Is your Keurig not working as well as it used to? You’re not alone. Over time, calcium deposits, or scale, can build up inside your machine, affecting its performance and the taste of your coffee.
The good news is that descaling your Keurig is a simple process that can help restore your machine to its former glory.
In this comprehensive guide, we’ll walk you through the steps to properly descale your Keurig, using either white vinegar or a descaling solution.
We’ll also cover how often you should descale and provide tips to keep your machine running smoothly.
By the end of this article, you’ll have all the information you need to enjoy delicious, fresh-tasting coffee from your Keurig once again.
Preparation for Descaling Keurig Machine
Good preparation leads to a more effective and safer descaling session, ensuring that your machine is thoroughly cleaned without any damage.
1. Items Needed for Descaling
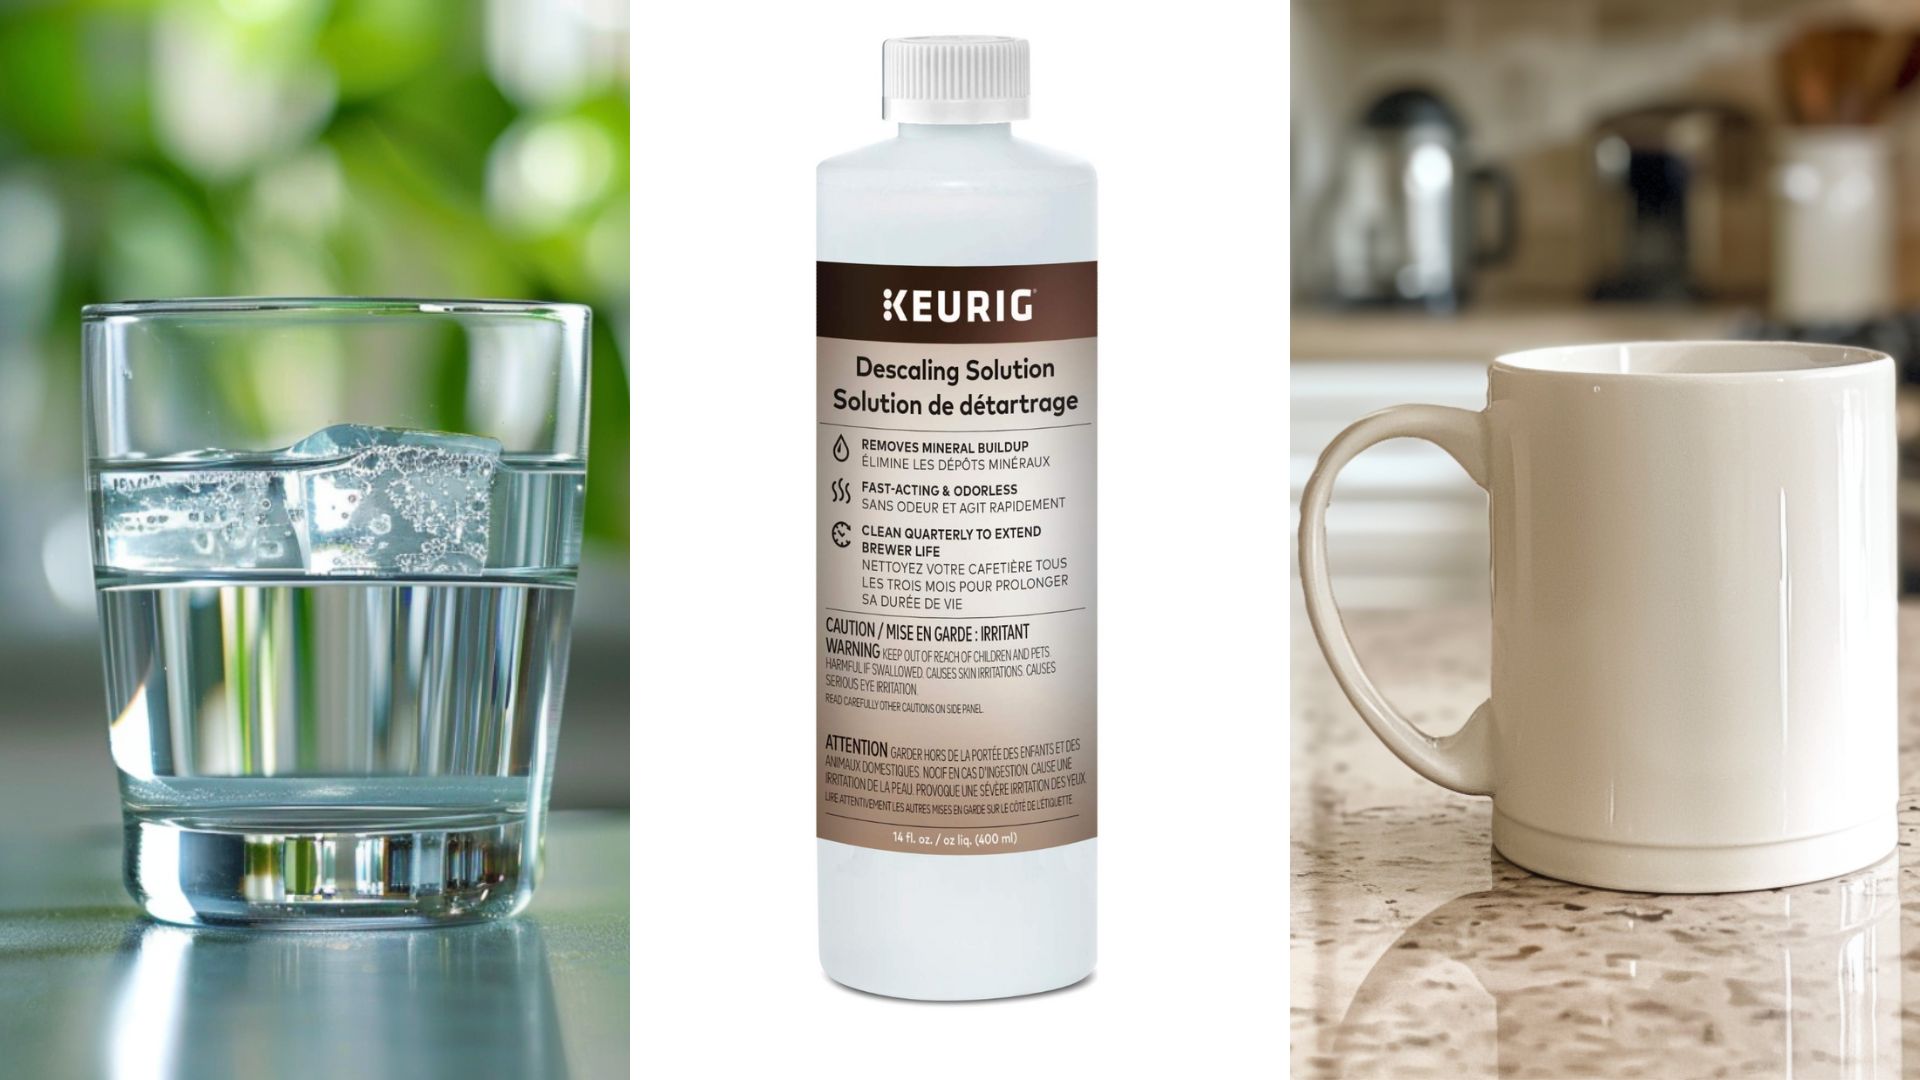
- Descaling Solution: This solution is specifically designed to target and remove the mineral deposits that accumulate inside your machine. You can purchase descaling solutions directly from Keurig or at most retailers that sell Keurig products.
- Fresh Water: In addition to the descaling solution, you’ll need fresh water to dilute the solution and rinse the machine. It’s best to use filtered or bottled water to avoid introducing new minerals into your Keurig during the descaling process.
- Large Ceramic Mug: Choose a large ceramic mug to catch the descaled water during the rinsing process. Ceramic is a suitable material due to its heat-resistant properties, ensuring that the mug can withstand the hot water that will be dispensed from your Keurig.
2. Preparing the Machine
- Water Filter Removal: If your Keurig has a water filter, remove it before starting the descaling process. This will prevent damage to the filter and ensure that it doesn’t become contaminated with the descaling solution.
- Power Off: For your safety and the protection of your Keurig, make sure the machine is turned off before you begin descaling. This will prevent any accidental starts or malfunctions during the cleaning process.
3. Setup Environment
- Work Near a Sink: To make the descaling process easier and more efficient, set up your workspace near a sink. This will provide easy access to fresh water and allow for quick disposal of the used descaling solution.
- Clear the Area Around Your Keurig: This helps to avoid any accidental spills or splashes that could damage surrounding items or surfaces.
Descaling Process for Keurig Machine: Step-by-Step Guide
To ensure optimal results and machine safety, it’s crucial to follow the descaling process step-by-step. This will help you thoroughly clean your Keurig while preventing any damage to the machine.
Step 1: Adding Descaling Solution and Water
To begin, make sure your Keurig’s water reservoir is empty. Then, mix the descaling solution with water according to the manufacturer’s instructions.
Typically, you’ll use the entire bottle of descaling solution and then fill the empty bottle with water before pouring the mixture into the reservoir.
Step 2: Activate Descale Mode
The process for entering descale mode can vary between different Keurig models. In general, you’ll need to press a specific combination of buttons to activate the mode.
For example, on some models, you might need to press and hold the 8oz and 12oz buttons together for 3 seconds. Consult your Keurig’s user manual for the exact instructions for your model.
Step 3: Rinsing the Brewer and Flushing the Descaling Solution
Once you’ve activated the descale mode, your Keurig will start flushing the descaling solution through its system. Place a large mug on the drip tray to catch the liquid.
After the first cycle, discard the contents of the mug and repeat the process until the “add water” light comes on, indicating that the reservoir is empty.
Then, rinse the reservoir thoroughly and refill it with fresh water. Run several more cycles using only water to ensure all residues of the descaling solution are completely removed.
Step 4: Post-Descaling Drying and Reassembling
After completing the descaling process, carefully dry any parts that were removed or exposed during the cleaning, such as the water reservoir and its lid.
Make sure all components are completely dry before reassembling your Keurig. Double-check that everything is correctly fitted and securely in place to avoid any operational issues.
Post-Descaling Maintenance of Keurig Machine
After descaling your Keurig, it’s essential to practice proper maintenance to prolong the life and performance of your machine.
Proactive maintenance helps avoid unexpected breakdowns and ensures that you continue to enjoy the best possible coffee quality.
1. Regular Maintenance Tips
- Cleaning: To keep your Keurig in top condition, regularly clean the removable parts, such as the drip tray and K-cup holder. Aim to clean these parts at least once a week using warm, soapy water. Rinse thoroughly and dry completely before reassembling.
- Inspection: Once a month, take a few minutes to inspect your Keurig for any signs of wear or buildup in parts not usually removed during regular cleaning. This can help you catch potential issues early and prevent them from escalating.
- Storage: When not in use, store your Keurig in a dry, cool place to prevent moisture buildup, which could lead to mold or mechanical issues. Avoid storing the machine in direct sunlight or near heat sources.
2. Frequency of Descaling
The frequency of descaling depends on the hardness of the water you use and how often you use your Keurig. As a general rule, descale your machine every 3-6 months.
However, if you live in an area with hard water or use your Keurig frequently, you may need to descale more often.
You can test your water hardness using a kit or by contacting your local water utility. To help maintain a consistent maintenance schedule, set reminders or mark your calendar for the next descaling date.
Using Vinegar as a Descaling Solution for Keurig Machine

In addition to commercial descaling solutions, white vinegar is a commonly used natural alternative that is both effective and safe when used correctly.
Vinegar’s acidity helps break down mineral buildup, making it a powerful cleaning agent.
Proportions and Mixing
When using vinegar to descale your Keurig, it’s important to use the correct proportions to balance effectiveness with machine safety.
The recommended ratio is typically 1 part white vinegar to 1 part water.
Mix equal amounts of vinegar and water in a separate container before pouring the solution into your Keurig’s water reservoir.
Descaling Steps with Vinegar
The process of descaling with vinegar is similar to using a commercial solution. First, fill the reservoir with the vinegar mixture.
Then, place a large mug on the drip tray and run the brew cycle without inserting a K-cup.
Repeat this process until the reservoir is empty. After that, rinse the reservoir thoroughly and refill it with fresh water.
Run several brew cycles with plain water to eliminate any vinegar odors and residues.
Continue this rinsing process until the water runs clear and there’s no lingering vinegar smell.
Benefits of Regular Maintenance of Keurig Machine
1. Performance
When you remove the scale buildup, you ensure that the heating element and water flow within the machine operate efficiently.
This leads to consistent coffee temperatures and better flavor extraction, resulting in a perfect cup of coffee every time.
2. Flavor Quality
Old residues and scale buildup in your Keurig can cause off-flavors in your coffee, making it taste stale or bitter.
By descaling your machine, you remove these residues, ensuring that each cup of coffee tastes fresh and true to its intended flavor profile.
3. Energy Efficiency
A clean, scale-free Keurig heats water more efficiently, using less energy in the process. This not only helps you save on electricity costs but also reduces your environmental impact.
Plus, a more energy-efficient machine means your coffee will be ready faster, so you can enjoy your morning cup without any delay.
4. Extending Machine Life
Over time, scale buildup can cause serious mechanical issues in your Keurig, such as clogging and overworking of the machine.
This can lead to breakdowns and costly repairs. However, by regularly descaling your machine, you prevent these issues and prolong its lifespan.
This makes descaling a cost-effective practice in the long run, as you won’t need to replace your Keurig as often.
Troubleshooting Common Descaling Issues in Keurig Machine
While descaling your Keurig is generally a straightforward process, issues may occasionally arise that can affect the cleaning. Here are some common problems and their solutions.
1. Problem: Machine Not Entering Descale Mode
If your Keurig won’t enter descale mode, first consult your machine’s manual for specific instructions. Make sure your Keurig is plugged in and powered on.
If the problem persists, try resetting the machine by unplugging it for a few minutes before plugging it back in.
2. Problem: Machine Not Dispensing Water During the Descaling
Another issue you might encounter is the machine not dispensing water during the descaling process. This could be due to a clog in the needle or exit tube.
To resolve this, gently clean the needle and tube using a paperclip to remove any debris.
If you notice residues remaining after descaling, repeat the rinsing process with fresh water until the water runs clear and there are no signs of residue.
If problems persist, contact Keurig customer support for further assistance.
Summing It Up
In conclusion, descaling your Keurig machine is a simple yet crucial process that ensures your coffee maker performs at its best and provides you with delicious, fresh-tasting coffee.
By regularly descaling your Keurig every 3-6 months using either a commercial descaling solution or a white vinegar mixture, you can prevent mineral buildup, extend your machine’s lifespan, and avoid costly repairs.
Remember to always follow the manufacturer’s instructions and take the time to properly prepare, descale, and maintain your Keurig for optimal results.
With a little effort and care, your Keurig will continue to be a reliable companion in your daily coffee routine.
So, go ahead and enjoy that perfect cup of coffee, knowing that you’ve taken the necessary steps to keep your Keurig running smoothly for years to come.